
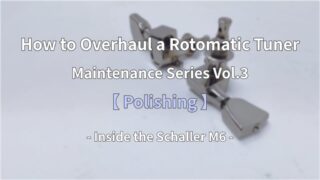
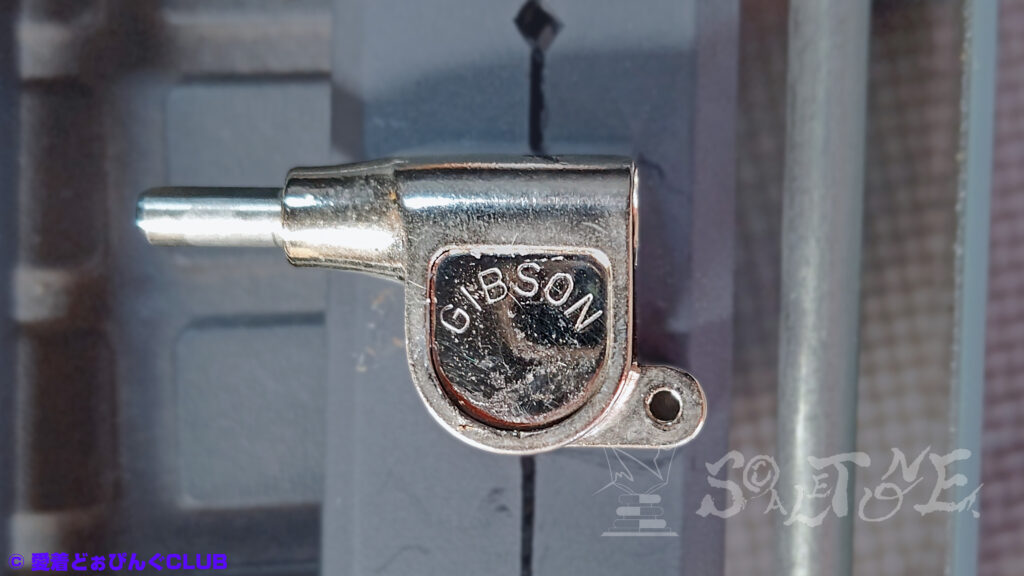
Maintenance Series Vol.1: Inside the Schaller M6
Rotomatic Disassembly Series – Part 4: Reassembly & Lubrication
Maintenance Series Vol.1: Inside the Schaller M6
Rotomatic Disassembly Series – Part 4: Reassembly & Lubrication
This series explores the overhaul of the classic Schaller M6 Rotomatic-style guitar tuners.
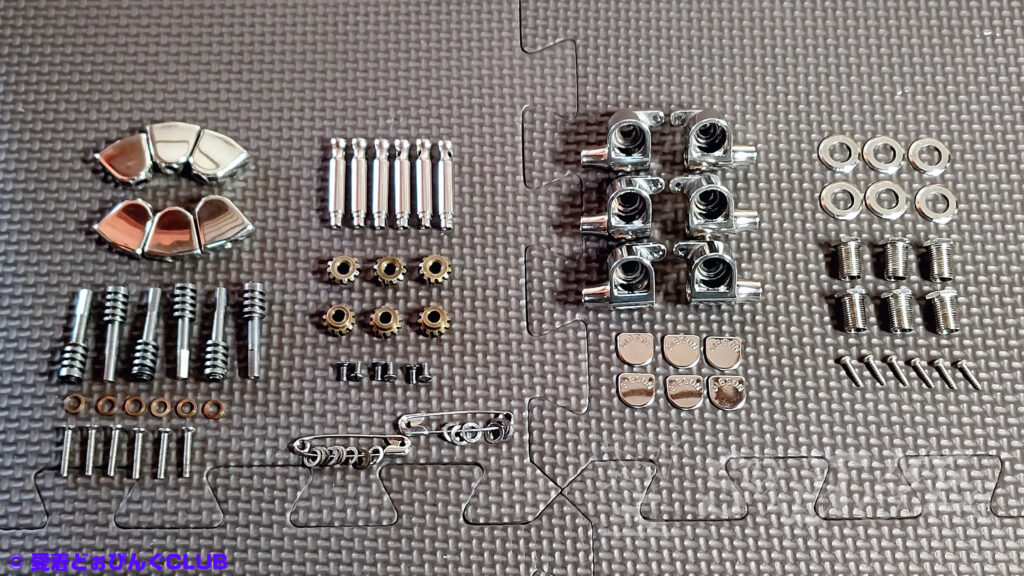
The “Complete Rotomatic Peg Maintenance Guide” is divided into four chapters:
- Part 1: Disassembly
- Part 2: Cleaning
- Part 3: Polishing
- Part 4: Reassembly & Lubrication
In this final chapter, we focus on reassembly and lubrication, with step-by-step images and notes.
You’ll find:
- Reassembly procedure
- Tools used
- Key precautions
- Lubrication tips
- Before / After comparison


- Introduction
- Step 0:Lubrication (Optional)
- Step 1:Gasket + Shaft
- Step 2:Gear + Post + Gear Case = Gearbox
- Step 3:Gearbox + Shaft = Main Body
- Step 4:Main Body + Peg Button = Nearly Complete
- Step 5:Preparing for Lubrication
Introduction
We’ve reached the final chapter of the “Complete Rotomatic Peg Maintenance Guide.”
This time, we’ll walk through the reassembly and lubrication process, accompanied by images.
For personal reasons (mostly mood), I’ve titled this chapter “Reassembly & Oil Application.”
The process itself is essentially a reverse playback of the “Disassembly” chapter,
so if you’ve been following from the beginning, much of this may feel familiar.
Still, I’ve prepared images for each step, so we’ll go through it carefully to avoid missing anything.
And if we’re going to do this, I’d like to present it with clean visuals.
Whether this chapter meets your expectations, I can’t say.
But if even one detail stays with you, I’ll consider it worthwhile.
If you’ve found your way to this quiet corner of the web,
thank you for staying with me to the end.
Just to be clear: this is a personal maintenance record.
It’s not a recommendation to overhaul your tuners—please treat it as reference only.
All work is at your own discretion.
Let’s begin—with “don’t overdo it” as the motto.
※ Each step was photographed separately, so the parts shown may not be identical throughout.
※ Precise part names may vary—thank you for your understanding.
Step 0:Lubrication (Optional)
This step came to mind after the main work was done.
It’s optional, but you might consider applying a small amount of grease to the inner surface of the case where it contacts the post.
※ If you do apply grease, make sure to wipe off any excess.
A thin layer across the entire surface could help prevent rust,
but it may also cause looseness—so be careful not to let grease reach the following areas:
- Gear mounting screws
- Post screw holes
- Shaft
- Torque adjustment screw
- Back cover edges
Grease can sometimes react poorly with resin, rubber, or painted surfaces.
Be sure to clean any areas where grease might linger or spread.
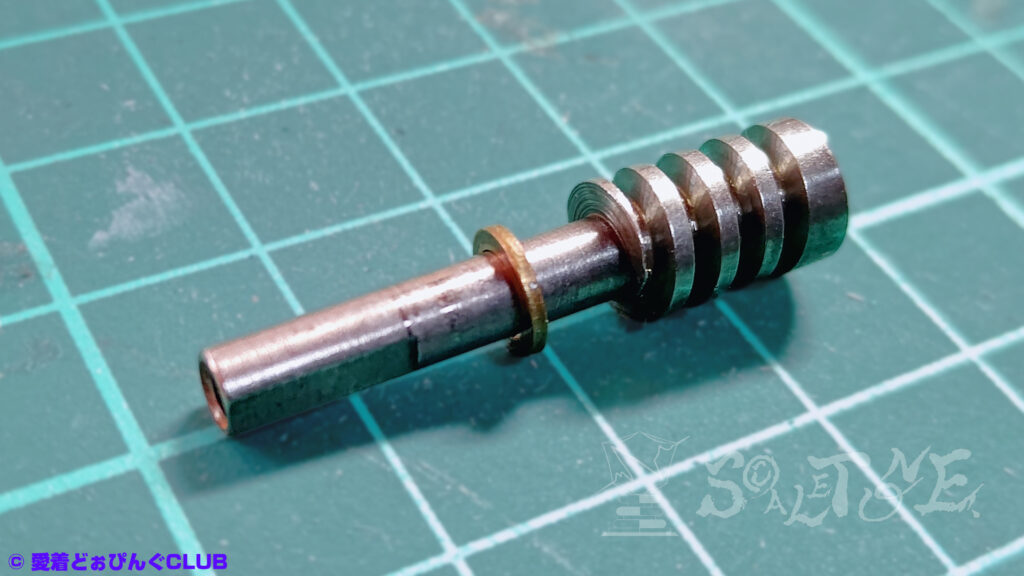
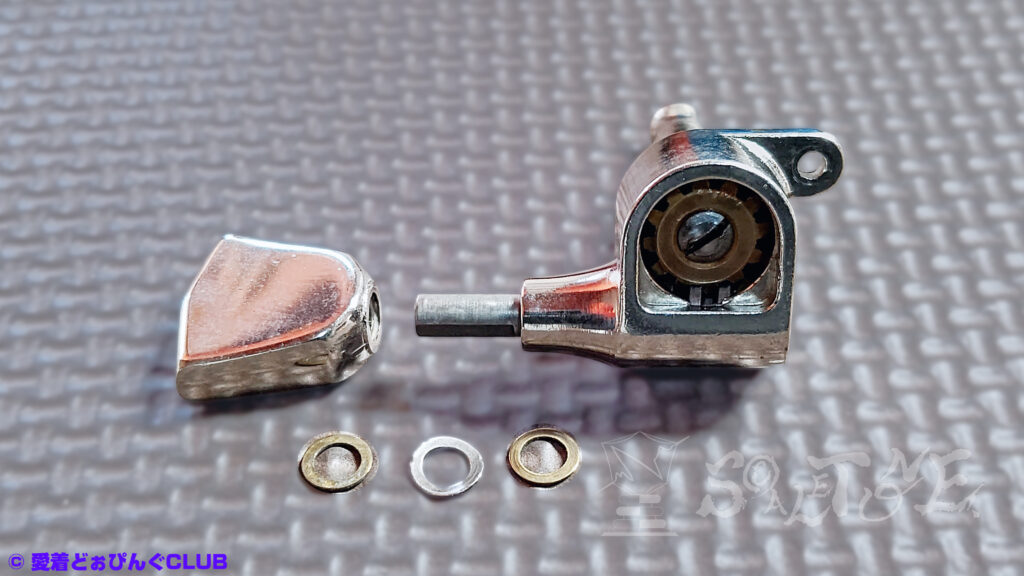
Step 1:Gasket + Shaft
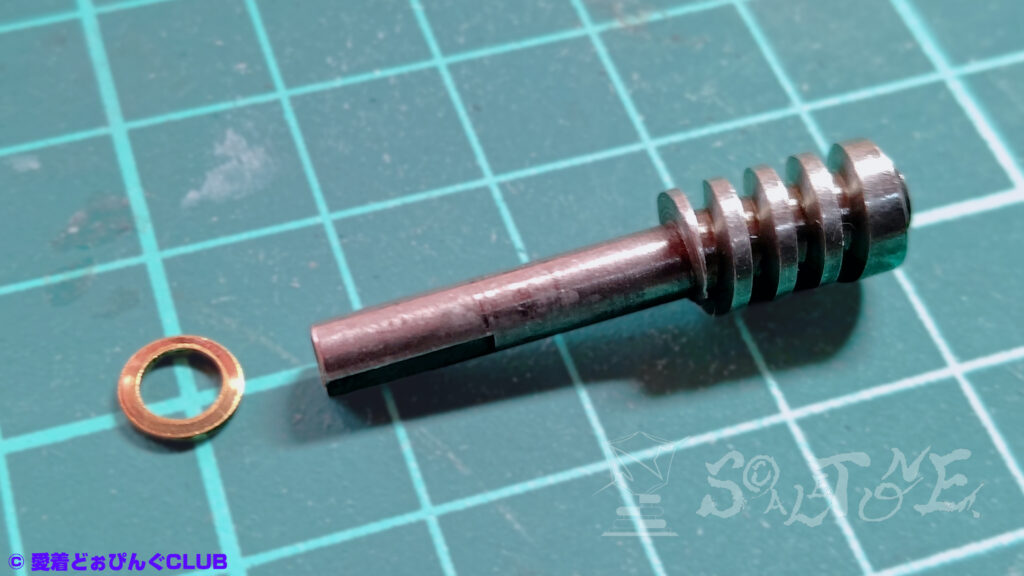
Begin by fitting the gasket onto the shaft—it’s a small part that’s easy to misplace.
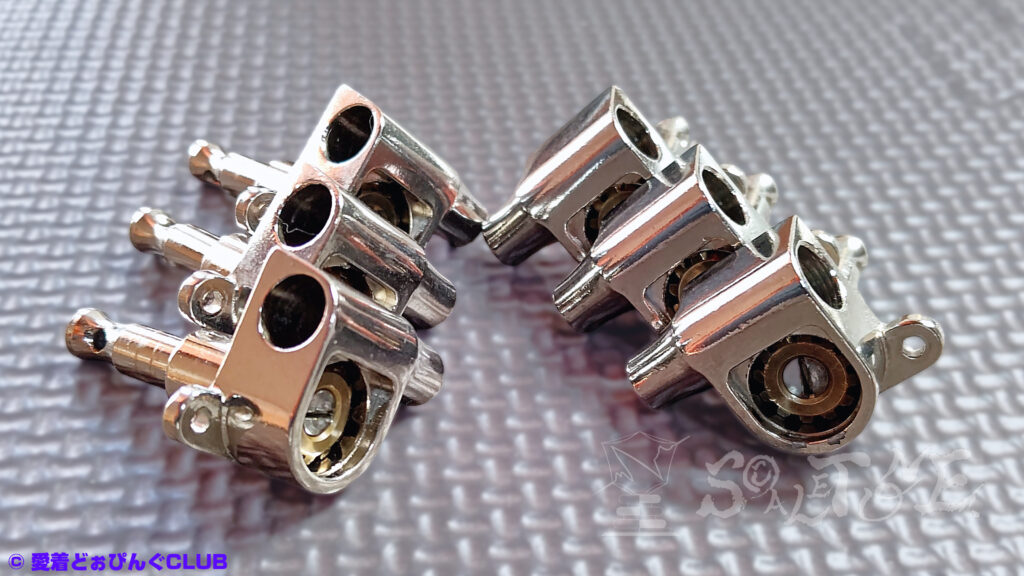
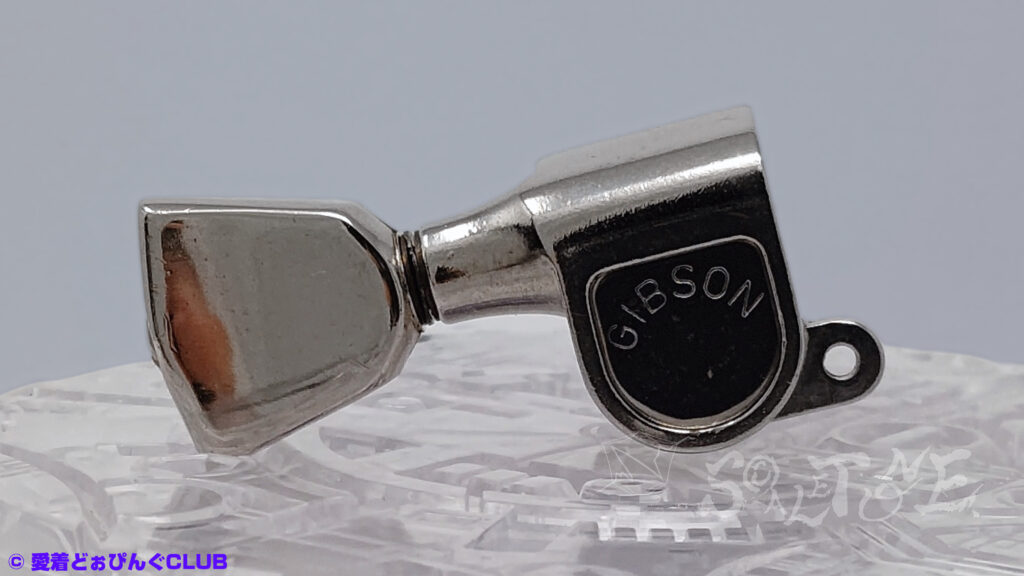
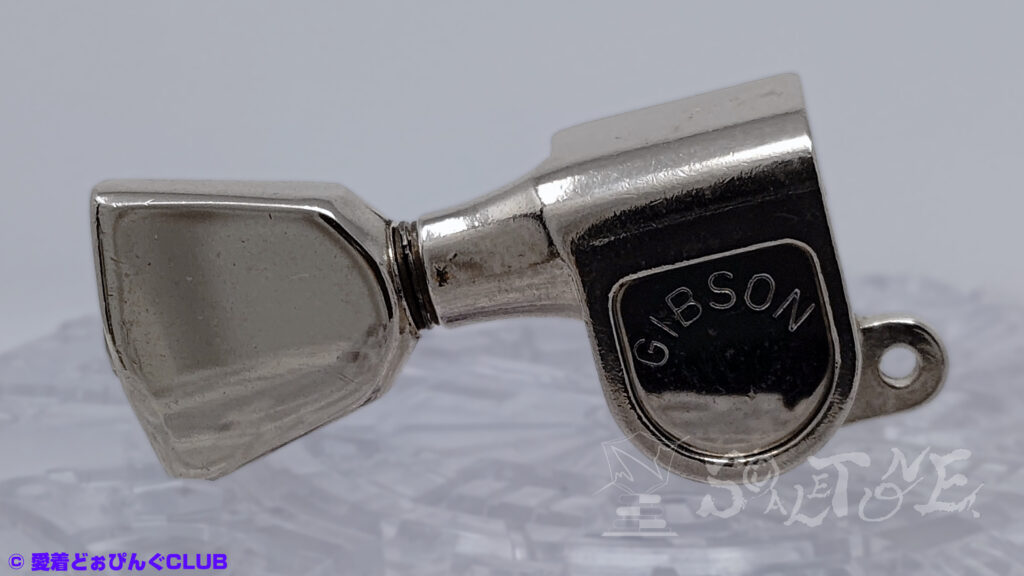
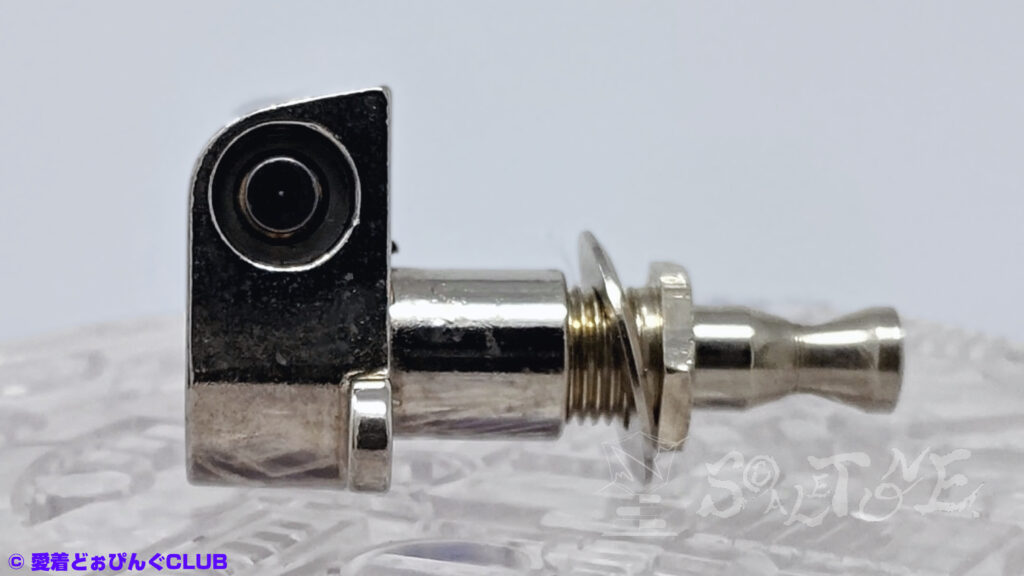
Step 2:Gear + Post + Gear Case = Gearbox
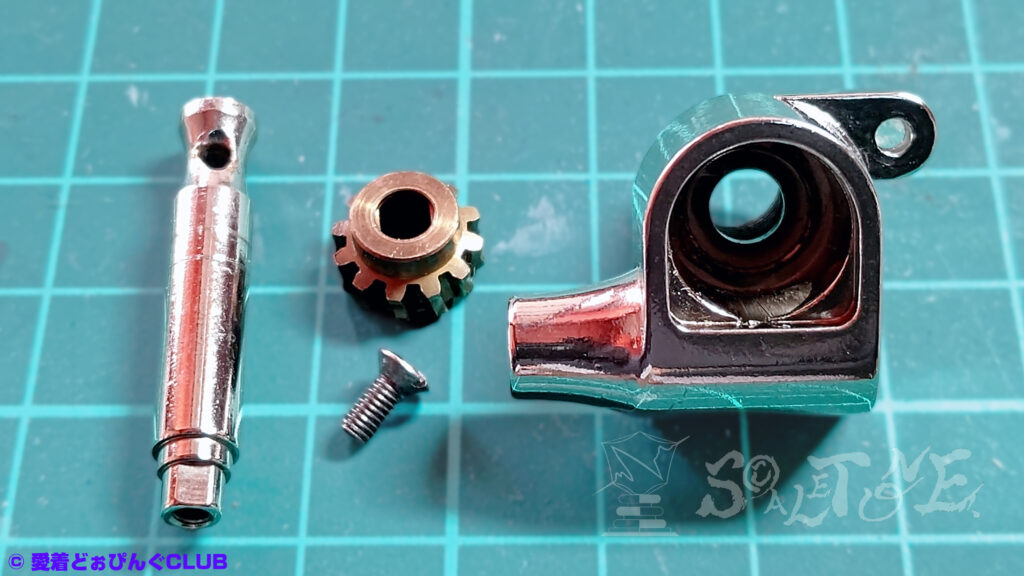
The worm wheel (hereafter: gear) and string post (hereafter: post) are positioned
on opposite sides of the gear case (hereafter: body/case).
As shown in the “Disassembly” chapter,
you can insert a thin rod (such as a precision screwdriver) through the string hole in the post
to prevent it from rotating while tightening the screw.
※ Be careful—the rod itself may bend or deform.
The gear has a correct orientation.
Make sure the countersunk side (where the screw head sits) faces outward for proper installation.
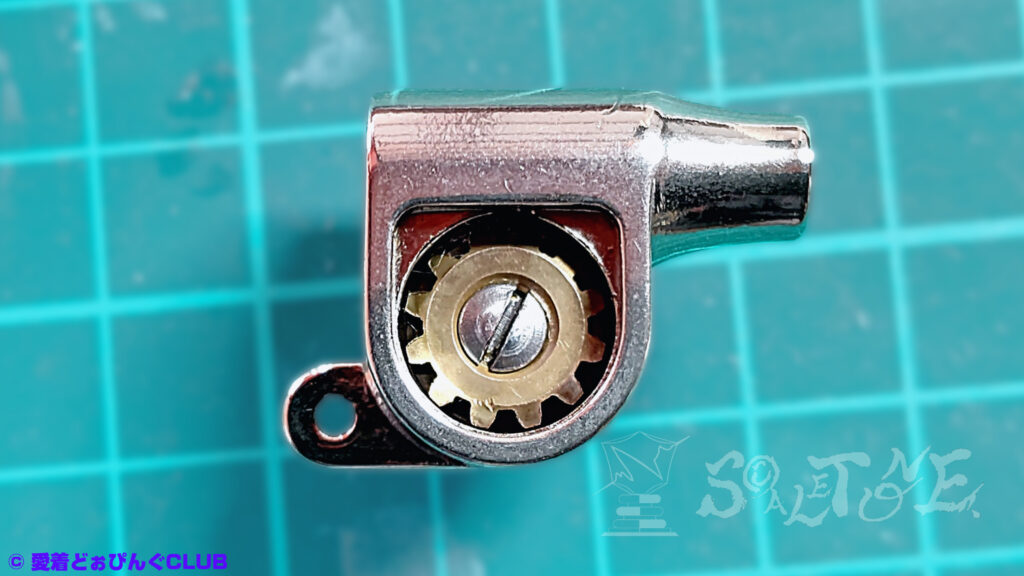
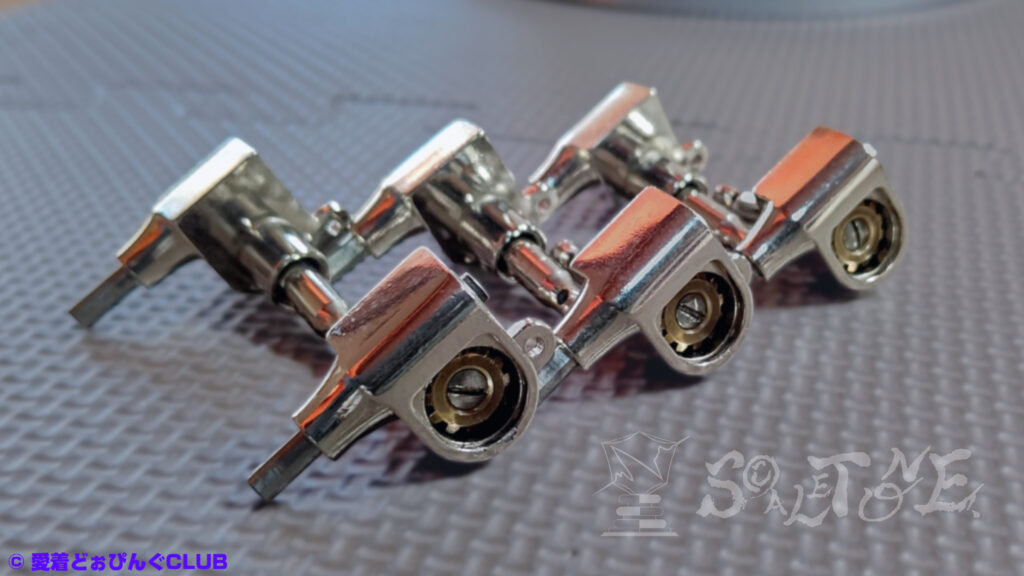
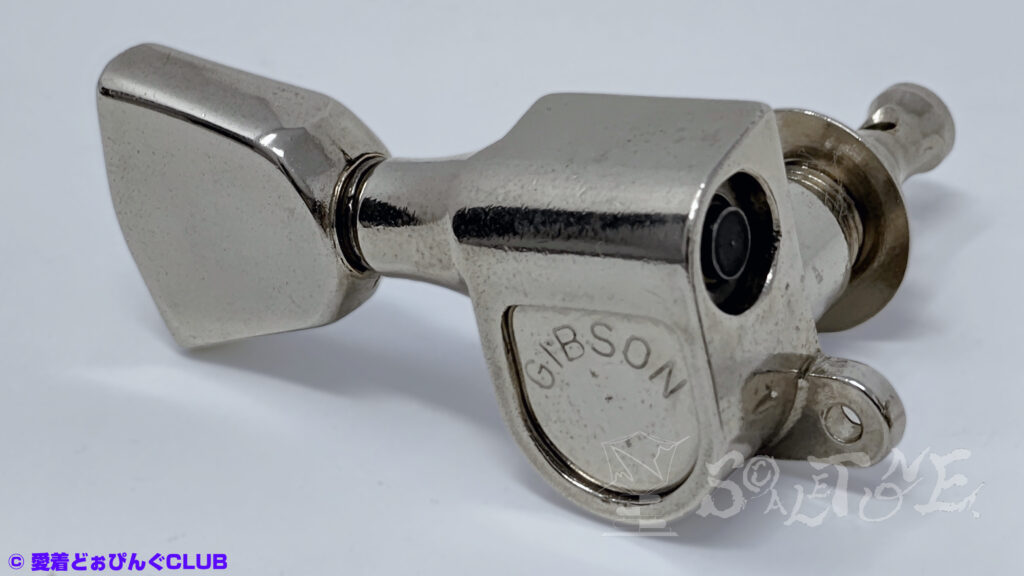
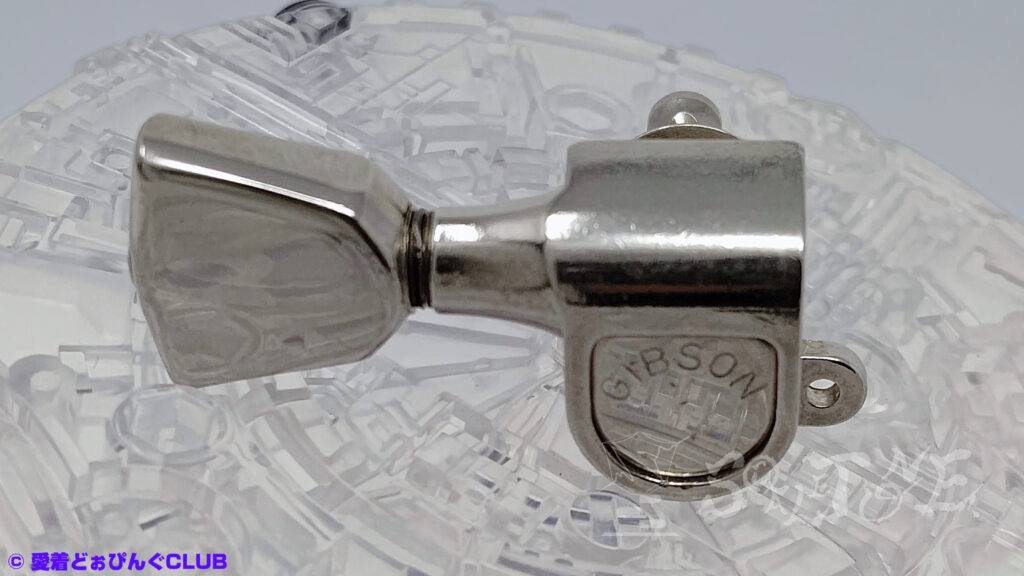
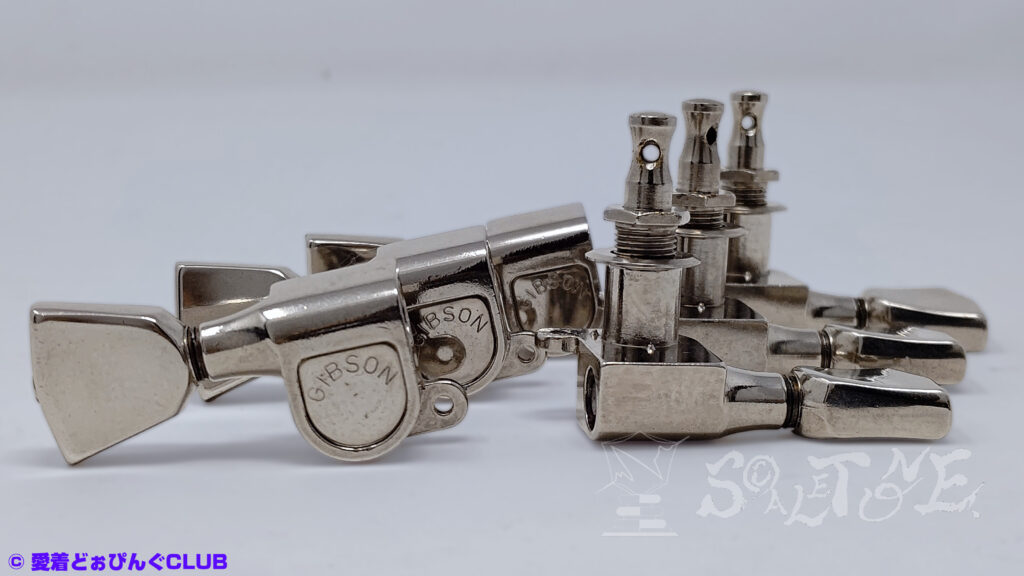
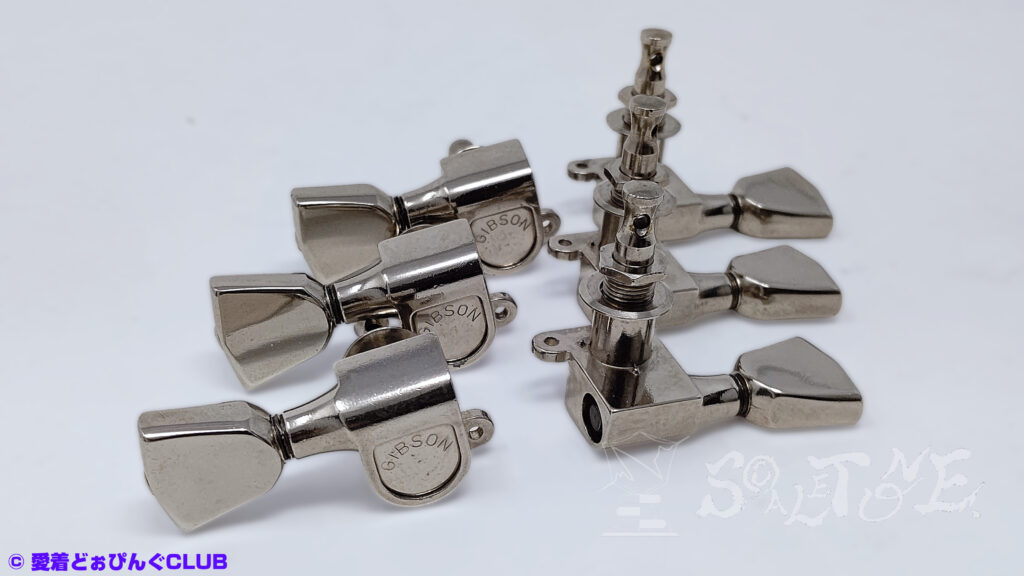
Here’s the result after assembling all six units.
The front-right peg shows some plating wear—an example of aging worth noting.
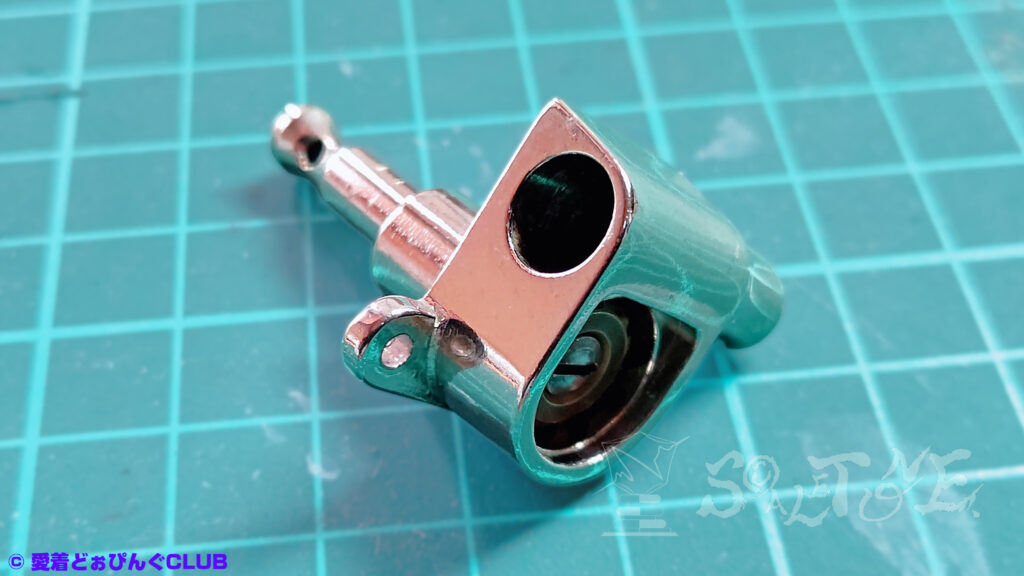
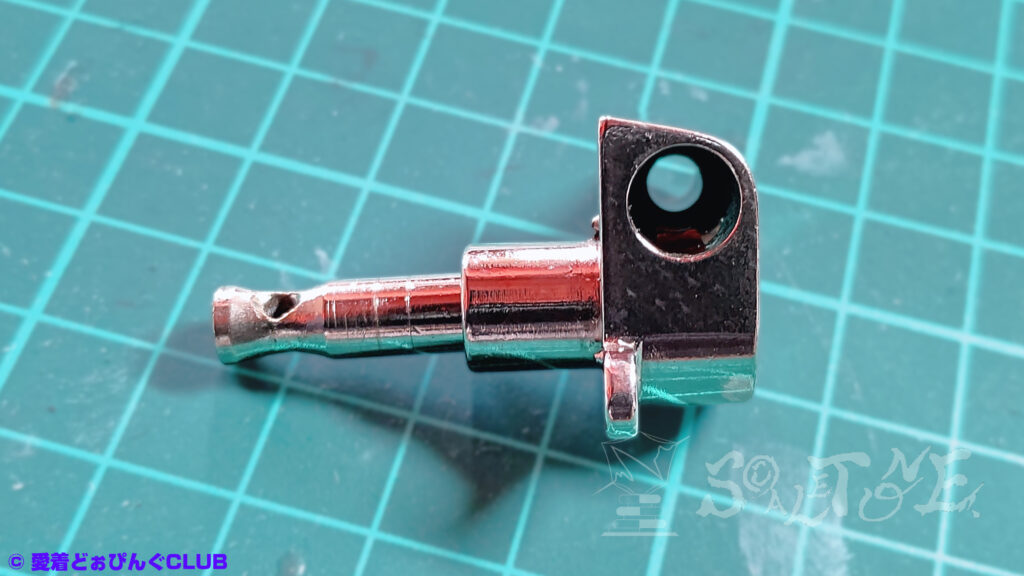
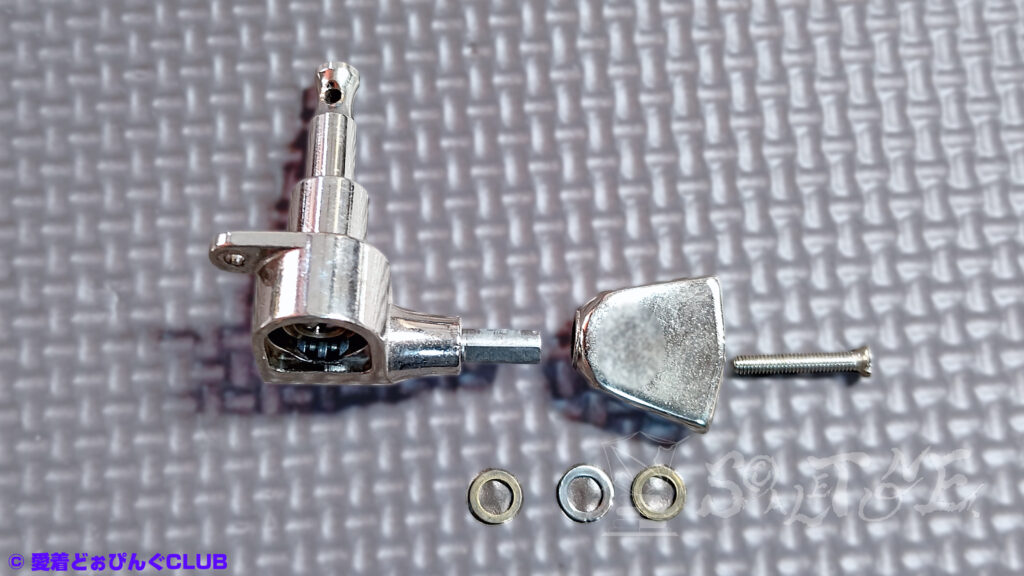
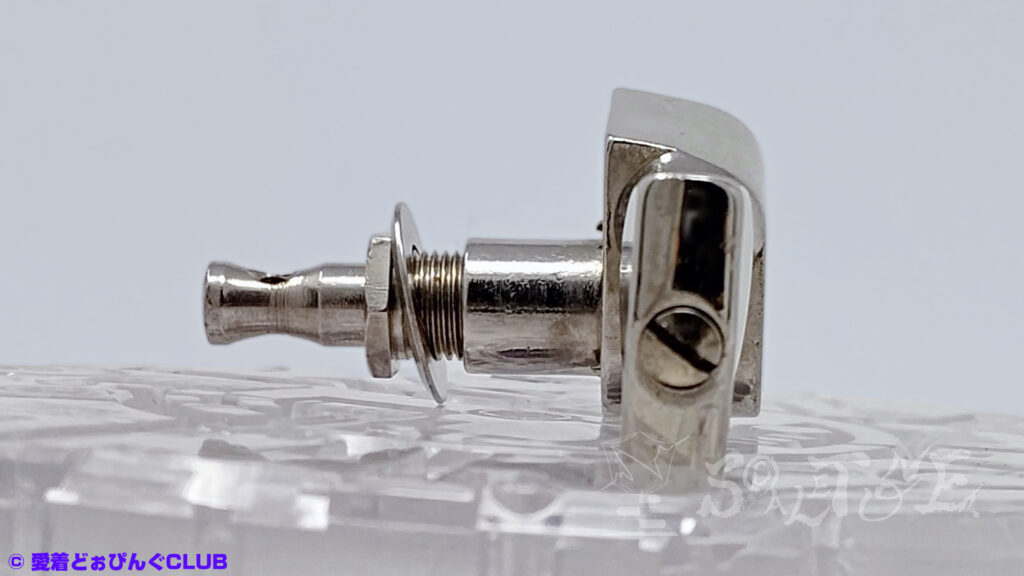
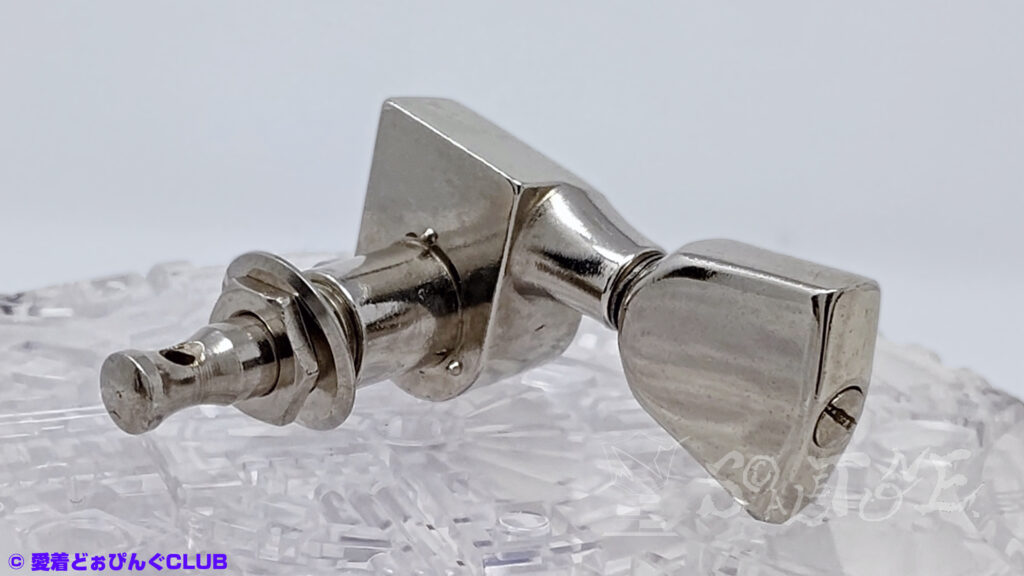
Step 3:Gearbox + Shaft = Main Body
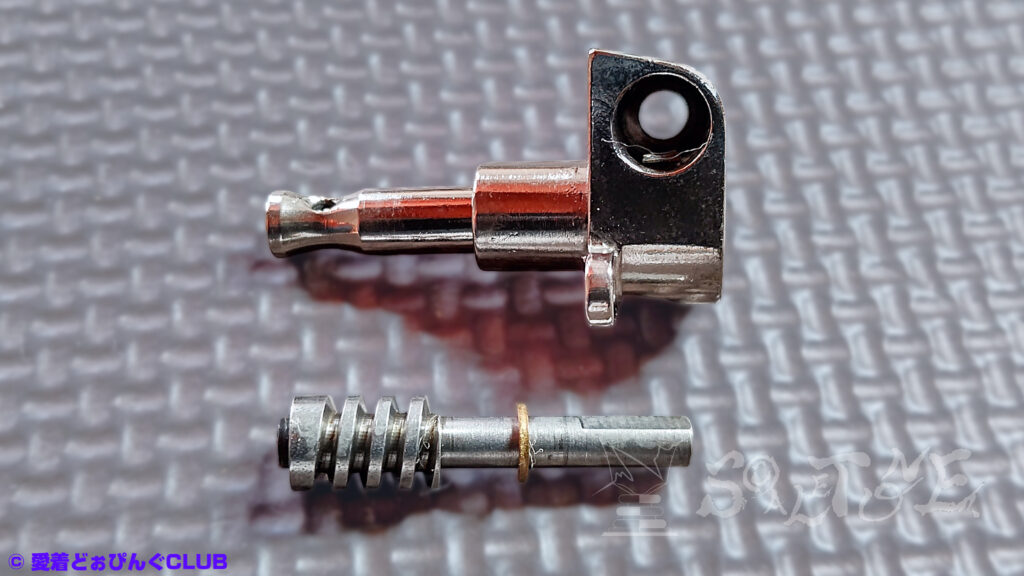
Carefully insert the shaft from Step 1 into the body assembled in Step 2.
If there’s any dust or debris, clear it away before proceeding.
Gently rotate and slide the post and shaft straight into place—no force needed.
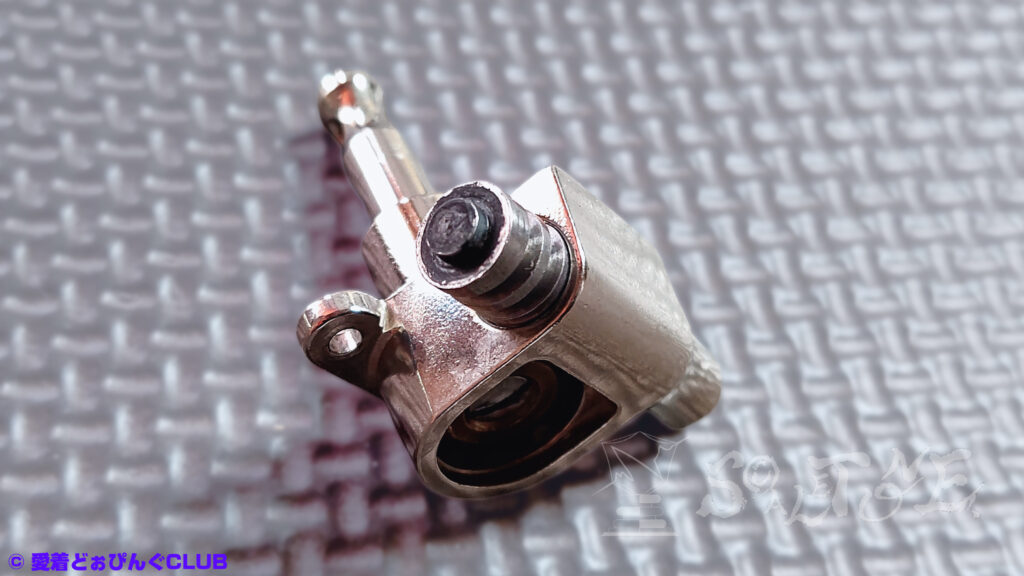
Step 4:Main Body + Peg Button = Nearly Complete
※ During lubrication, the shaft slipped out more than expected,
so I’ve intentionally changed the order of operations to make things clearer.
The following images show the peg button already installed.
Assemble the shaft in the following order:
Washer ① → Spring washer → Washer ②
Then attach the peg button and secure it with the torque adjustment screw.
The aim here is to keep the shaft from slipping out too easily—
especially since it came loose during lubrication.
But because we want some movement to allow grease distribution,
avoid overtightening. A gentle provisional fit will do.
You can fully tighten the torque screw later, after the back cover is installed.
Step 5:Preparing for Lubrication
※ Some images were taken later.
This step is minor—just a few thoughts on support tools.
If you’re not particular, feel free to experiment with anything disposable and sturdy enough.
As a stand for lubrication, you could use:
- A beer can opening
- A takeout coffee lid with a straw hole
- A hole punched in a tissue box
- A fan grill
- A charcoal grill mesh
- The lid from a mosquito coil container (Japanese style—if you know it, you know it)…
Use whatever seems workable and okay to damage.
Of course, this comes with the usual disclaimer: proceed at your own risk.
I’m listing these mostly for presentation—what I’m offering here is just methodology.
Stability Matters
Being able to place the post horizontally without worrying about it makes lubrication much easier.
A stable workspace improves both efficiency and safety.
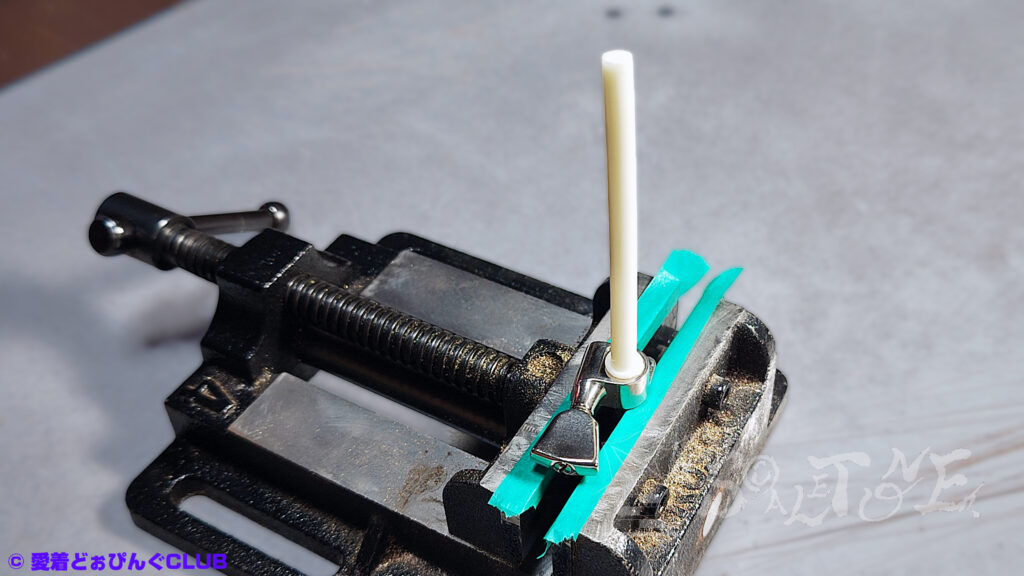
Choosing a Clamp
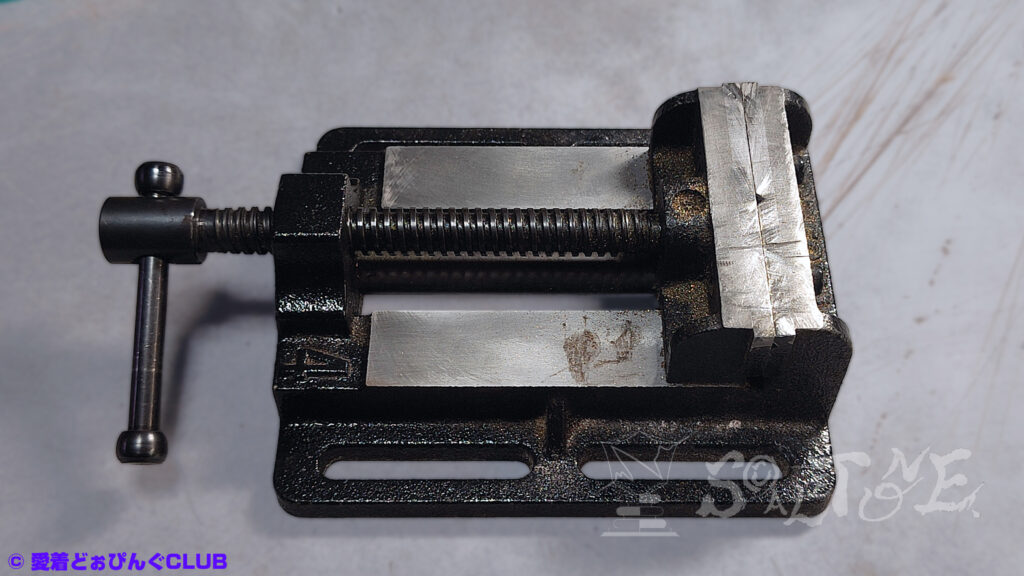
If you plan to tap the unit with a hammer after lubrication, a sturdy vise is recommended.
※ When using a vise, insert cushioning material like cloth or rubber to protect the case.
Amazonで購入する:“ボール盤バイス“
Alternative Fixing Methods
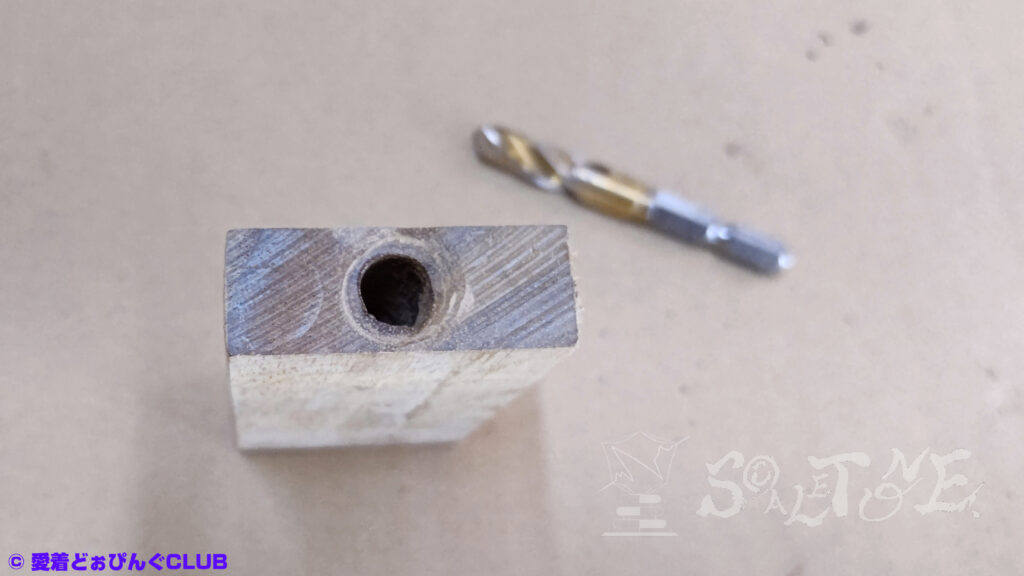
Amazonでの検索結果:“六角軸ショートドリル 8.0mm“
Previously, I introduced a scrap piece with a hole for the post—this still works well.
For Rotomatic tuners, a hole around 10mm in diameter is a good starting point.
Shaping it to match the post allows for a simple fixture.

About Socket Wrenches
You can use a socket wrench as a makeshift stand,
but since it doesn’t support the unit across a flat surface,
it may deform or break when struck with a hammer.
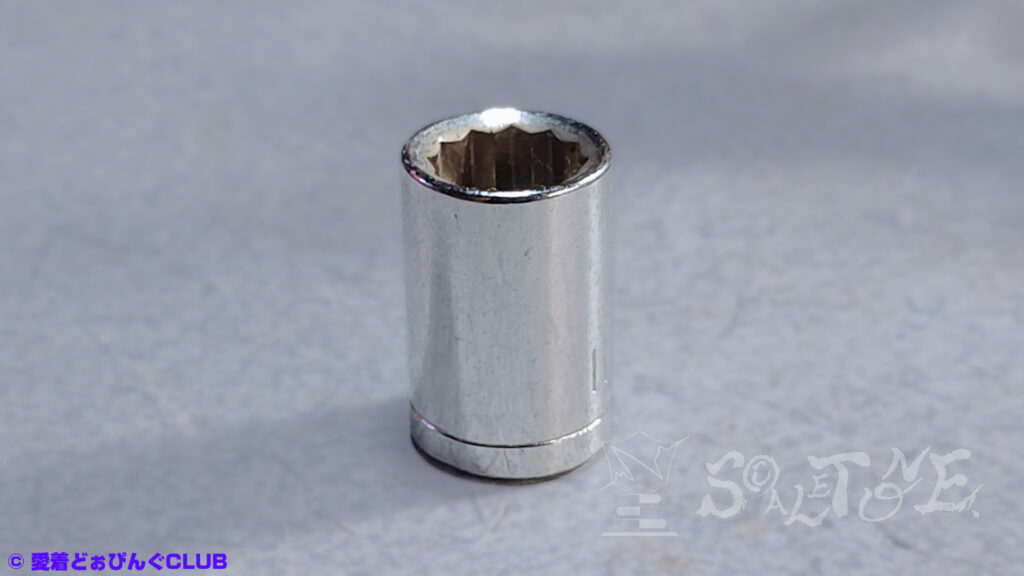
So I don’t recommend it.
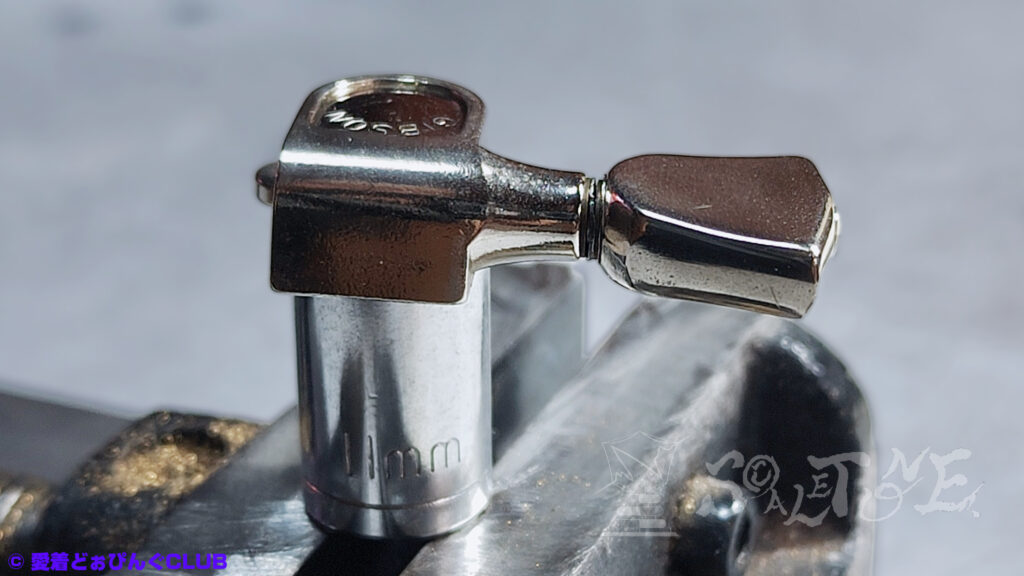
My household 11mm socket was slightly too short,
so I placed it in a vise instead.
Just a rough example for reference.
Step 6:Lubrication
For this session, I used urea grease.
Amazonで購入する:“ウレアグリース“
Why I Chose Urea Grease

There are many types of grease—lithium-based, molybdenum-based, silicone-based—
each with different viscosities and overlapping applications.
To be honest, I found the options overwhelming.
Unless a product is clearly labeled for a specific use,
you can’t rely solely on online information.
What you can trust are expert insights—and your own responsibility and resolve.
Please don’t treat my choice as definitive.
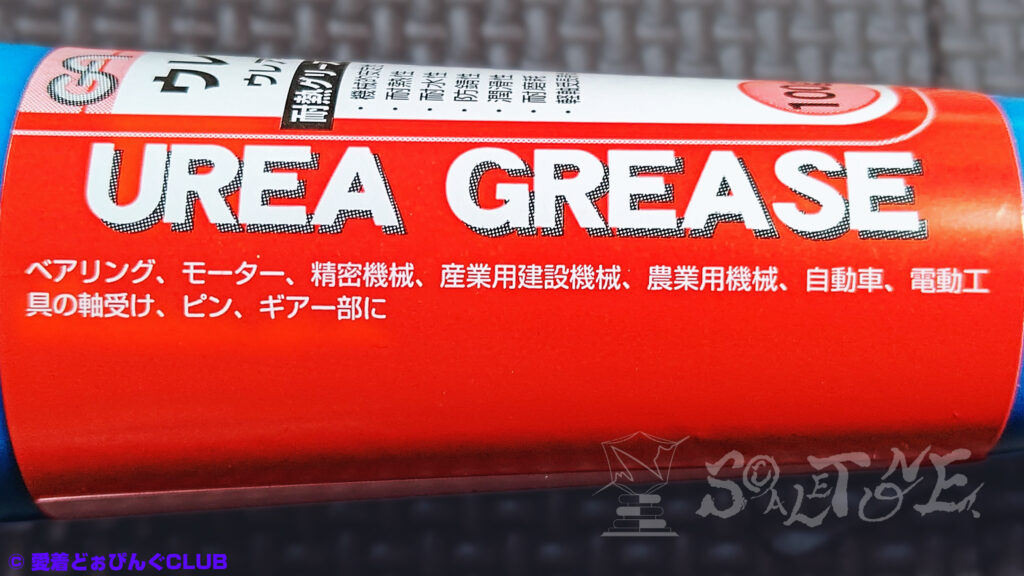
My decision was based on just two factors:
- The product’s “application” section matched my intended use
- It appeared to have a thicker consistency, which I preferred
As for longevity or long-term performance—I honestly don’t know.
Step 7:Application and Cautions
To help the grease spread evenly from the gear across the entire mechanism,
rotate the shaft gently while feeding in small amounts of grease.
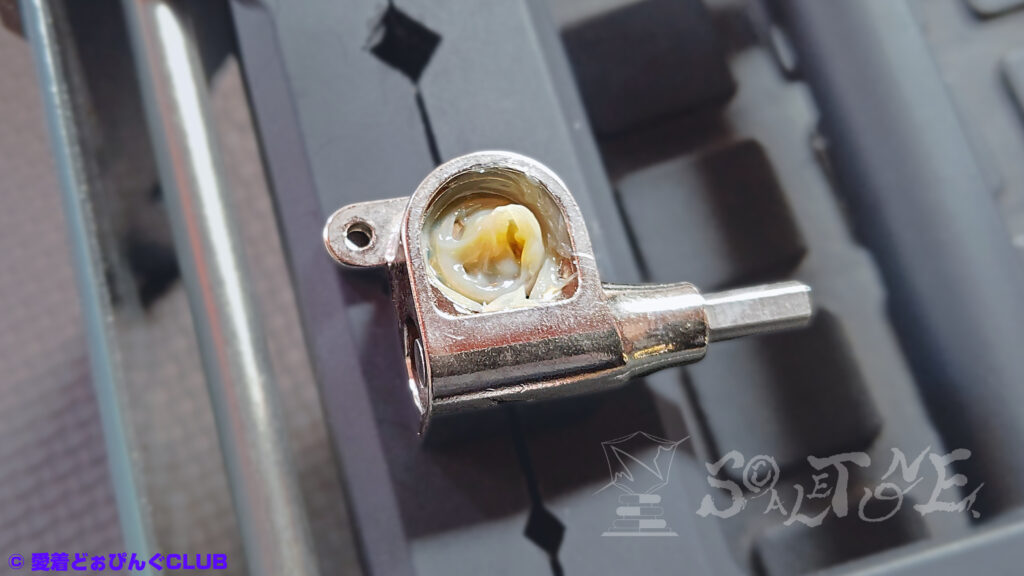
Guidelines for Judging Quantity
Personally, I consider the amount found during disassembly to be a reasonable reference point.
That said, the original grease type is unknown,
and frankly, some units showed such questionable application
that I wasn’t even sure it was functioning as grease.
So I’ve chosen to treat this as a fresh application with a different grease type altogether.
In that case, it’s easier to rely on your own sense of balance and comfort when deciding what counts as “appropriate.”
Torque Adjustment and Supplementary Notes
I don’t know how effective it really is to “gain torque through grease resistance,”
but one thing’s certain: more isn’t always better.
There’s a torque adjustment screw next to the peg button,
so if you want a heavier feel, you might consider adding extra washers.
(As an aside, this method is sometimes used as a “last resort”
when a truss rod no longer responds and replacement isn’t yet an option.)
Depending on the grease type, spot application may be ideal.
If your washers are made of resin, be aware that some greases may not be compatible.
Any grease that ends up on the case edges or seeps out through gaps
should be thoroughly wiped away.
Step 8:Closing the Back Cover
Press the back cover into place.
Here’s where care really matters—one misstep can undo all your previous work.
The back cover sits slightly recessed below the case surface,
so getting it fully seated may require a bit of finesse.
Use a plastic hammer and a striking tool.
Ideally, the tool should be a rod about the same diameter as the cover, or slightly smaller.
Since scratches, deformation, or plating damage are a concern,
you’ll want to choose your materials carefully.
(A metal rod is fine too—just add a rubber pad. But bear with me a little longer.)
Amazonでの検索結果:“プラスチックハンマー“
About the Striking Tool
This was actually the same stick I failed with during disassembly.
A classic case of “fortunate failure.”
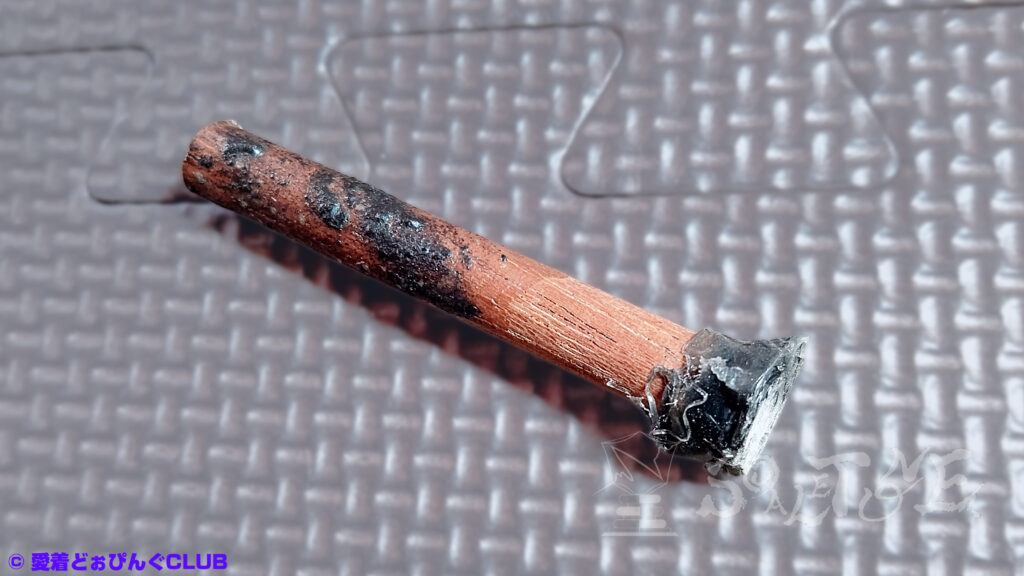
If it works, great. If not, it still becomes a striking tool—
so I think it’s worth trying the glue method at least once.
By the way, when using a glue stick to open the back cover,
you’ll get better results by attaching the entire stick directly.
Melt the glue with a turbo lighter (not direct flame),
cover the back cover with a generous amount, and press vertically to bond.
※ Avoid heating with open flame.
※ Correction: Try both methods—“glue stick + rod” and “glue stick alone.”
Amazonでの検索結果:“グルースティック“
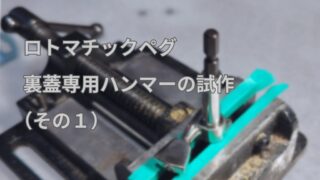
※ Prototype notes for the dedicated striking tool are here.

Step 9:Final Adjustment
Finish by tightening the torque adjustment screw on the peg button.
Give the unit one final wipe to remove any leftover grease—
especially since paint and oil don’t always get along.
If everything feels smooth and not overly tight, you’re done.
Nice work.
If something feels off, consider reopening the back cover and starting again.
Details can be found in the disassembly section.
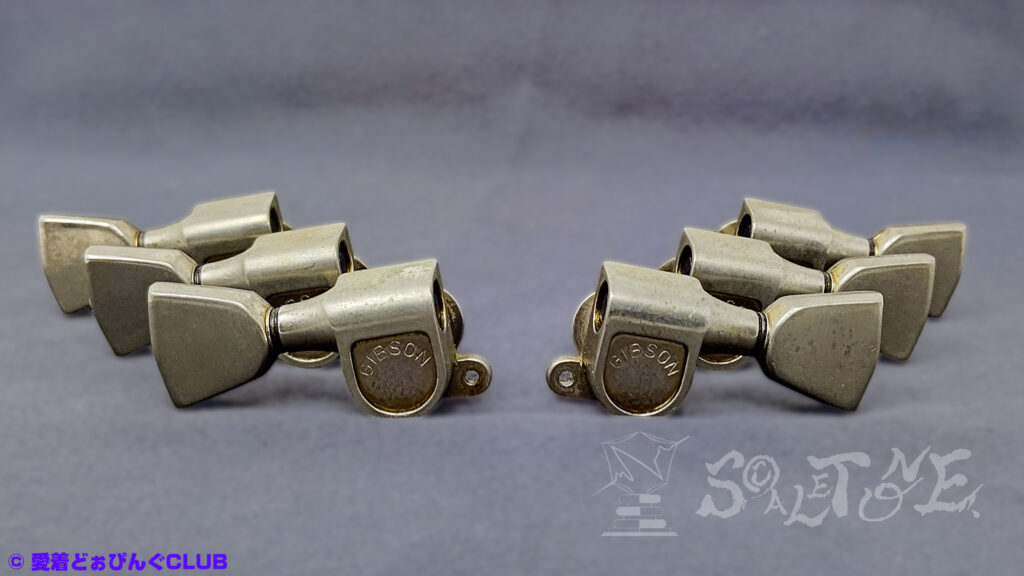
Results & Gallery
Here come the images—just for the afterglow.
If you’re wondering whether it looks cleaner: yes, it does.
But if you were hoping for a factory-fresh shine,
you might find it a bit underwhelming.
Sure, with full rust removal, polishing, and protective coating,
you could push it further.
But given the plating condition, the risk and effort outweigh the reward.
This is where I personally draw the line.
“Patina,” if it means anything, is just about whether it suits the guitar itself.
On modern Rotomatics, it may not matter much.
Still, I happen to like a bit of wear on the plating.
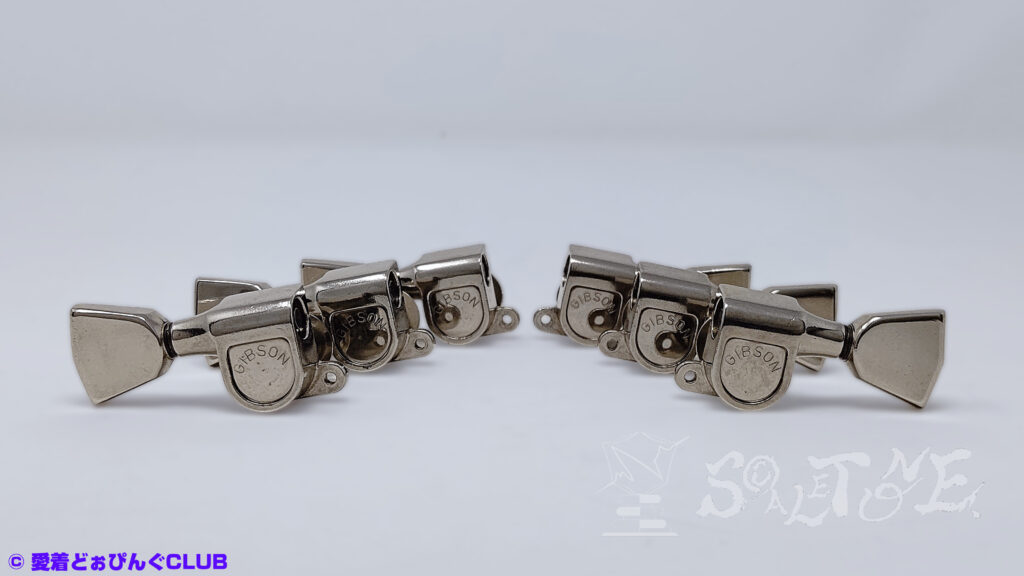
ScALETONE’s Note:「Before / After」& Final Note
Before
After
Looking back at the pre-cleaning photos,
what I saw wasn’t patina or the scent of an era—
it was just cigarette tar.
There was a time when smoke lingered in the air,
and that kind of atmosphere has become rare.
It’s a sensation I hadn’t recalled in years.
It really was that kind of era.
Yellowed wallpaper and cluttered desks were simply part of the landscape.
And with it, a quiet hesitation—
a kind of unease when handling used guitars.
The yellowing I once saw as character
may not have come from sunlight after all.
This next part is pure speculation.
Of course, no actual process like the one described below exists.
A certain custom shop might claim:
“Based on our research, relic’d guitars are suspended for five years in a secret facility—the staff smoking lounge—
to promote seasoning, lacquer curing, wood stabilization, and final finishing.”
- Tone varies depending on the cigarette brand
- Tar affects sound quality
(Taken out of context, this sounds like a discussion about adhesives or solder.)
“Help Wanted: Smokers. Easy task—just smoke.”
Years later, a lawsuit over health damage and workers’ compensation may follow.
And someday, someone says:
“That era used a special lacquer we can’t reproduce anymore. A memory lost to time.”
Eventually, it becomes something like an OOPArt.
The moment when urban legends and folk beliefs are born—
somehow ridiculous, somehow endearing.
Eventually, it’s retold as truth.
And maybe that, too, becomes part of guitar history.
I don’t claim to know the right answer.
This is simply my own maintenance log.
It’s not a recommendation—just a reference.
Please proceed at your own risk.
That wraps up the Complete Maintenance Guide for Schaller M6 Rotomatic Tuners.
Thank you so much for reading through to the end.
The following is a list of tools referenced in this guide.
Footnote:
In Japanese, the word “yani” refers to a wide range of sticky or resinous residues—tar from cigarettes, flux from soldering, glue remnants, even natural wood sap.
But beyond its physical meanings, “yani” often carries a sense of time, use, and quiet decay.
It’s a word that gathers history, touch, and atmosphere into one lingering trace.
Related Tools
“ロトマチック”の検索結果
“Schaller ペグ”の検索結果
Workspace
- Bench vise
- Cutting mat
Amazonで購入する:“ボール盤バイス“
Tools for Disassembly and Reassembly
- Three types of screwdrivers:
- For mounting screws on the guitar body
- For peg button screws
- For worm wheel screws
- Socket wrench: for mounting bushings
- Rod for pressing the back cover
- Rod for securing the peg post
- Plastic hammer
- Punch tool for back cover removal
Amazonで購入する:“スイングハンドル付ミニボックスレンチ 3本セット“
Amazonでの検索結果:“ドライバーセット“
Amazonでの検索結果:“プラスチックハンマー“
Anti-Loss Measures
- “Safety pins or cable ties, etc.” ×4: 2 washers + 1 spring washer + 1 gasket
- Parts case
- Lidded container (e.g., Tupperware)
- Tray
Optional Tools
- For cleaning: cotton swabs, Kimwipes or cloth rags
- For protection: masking tape
- Work gloves
Amazonでの検索結果:“キムワイプ“
Amazonで購入する:“マスキングテープ“
Polishing
- Rotary tool
- Polishing compound
Amazonで購入する:“Dremel(ドレメル) ハイスピードロータリーツール“
“メッキ 磨き”の検索結果
Lubrication
- Grease
Amazonで購入する:“ウレアグリース“
Miscellaneous
- Glue stick
- Heat shrink tubing
- Torch lighter
- Flathead screwdriver
- File
- Precision knife
Amazonでの検索結果:“グルースティック“
Related Articles