
Maintenance Series Vol.1: Inside the Schaller M6
Rotomatic Disassembly Series – Part 2: Cleaning
In this series, we take on the overhaul of the classic Schaller M6 Rotomatic-style tuning pegs—a modern counterpart to vintage Kluson-style tuners.
The full maintenance process is divided into four entries:
- Disassembly
- Cleaning
- Polishing
- Re-greasing and Reassembly
This second entry focuses on Cleaning, covering:
- Step-by-step cleaning process
- Tools used
- Key precautions
- A checklist-style summary


Introduction
This is Part 2 of the series: a visual walkthrough of the cleaning process.
Cleaning and polishing may seem like ordinary tasks—nothing new, nothing exciting.
But even the act of removing 40 years of grime and slowly restoring a quiet shine carries its own kind of joy.
There’s no pristine newness here.
But perhaps, just perhaps, these parts have aged with grace.
That’s the hope behind this chapter.
Step 1:Preparation
Begin by carefully organizing the disassembled parts.
To prevent loss, group small components individually.
Safety pins work well, or you can use fine-mesh drain bags to secure screws and washers.
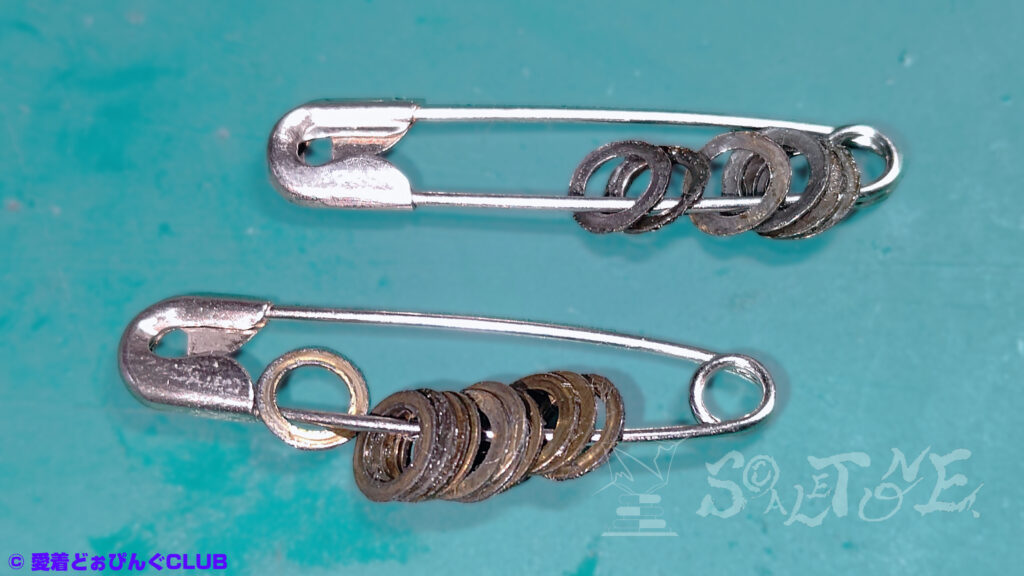
This chapter leans more on loss prevention than on method.
The cleaning itself is simple—what matters is keeping everything intact.
Recap from Part 1
In the previous entry, we ended with a count of 15 parts per tuner.
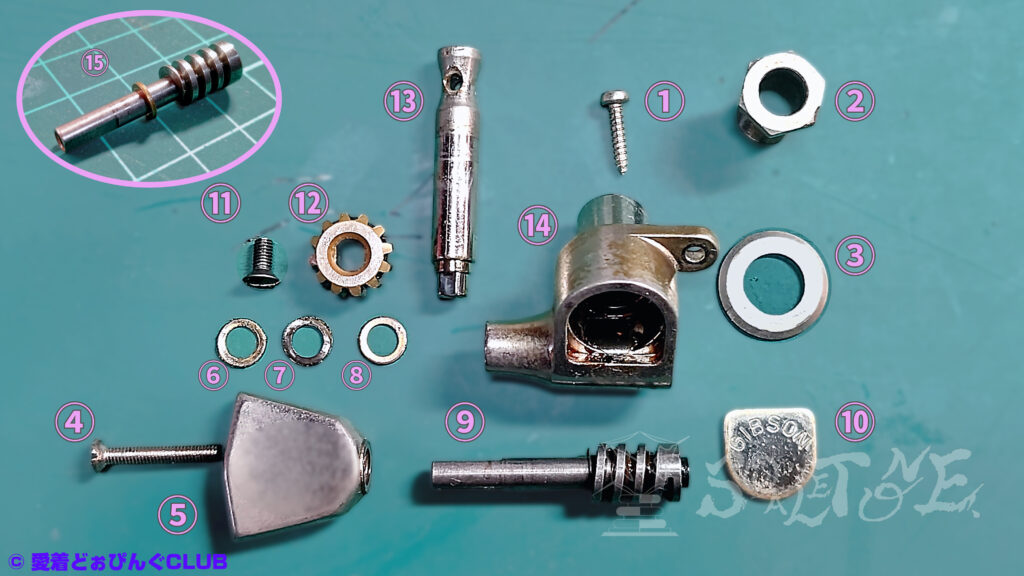
Ideally, we’d begin this chapter with a photo of all 90 parts (15 × 6 tuners).
But in reality, I hadn’t yet recognized the existence of the gasket (#15) when cleaning began.
It wasn’t until drying that I noticed something was off.
So yes—this chapter also serves as a reminder: parts may multiply unexpectedly.
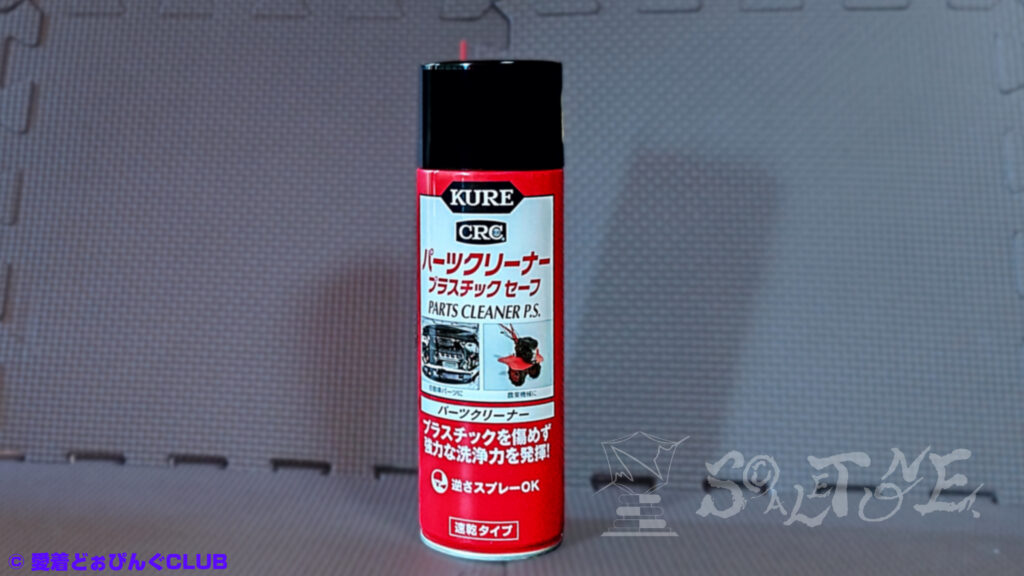
Step 2:Cleaning Solution
This process is closer to dishwashing than to mechanical repair.
While some use commercial parts cleaners, I opted for a household neutral detergent.
Mix a small amount into warm water (approx. 40–50°C) to create the solution.
Note:
Even neutral detergents can affect metal, so monitor concentration and soak time carefully.
Step 3:Soaking
Place the parts into the solution and let them soak.
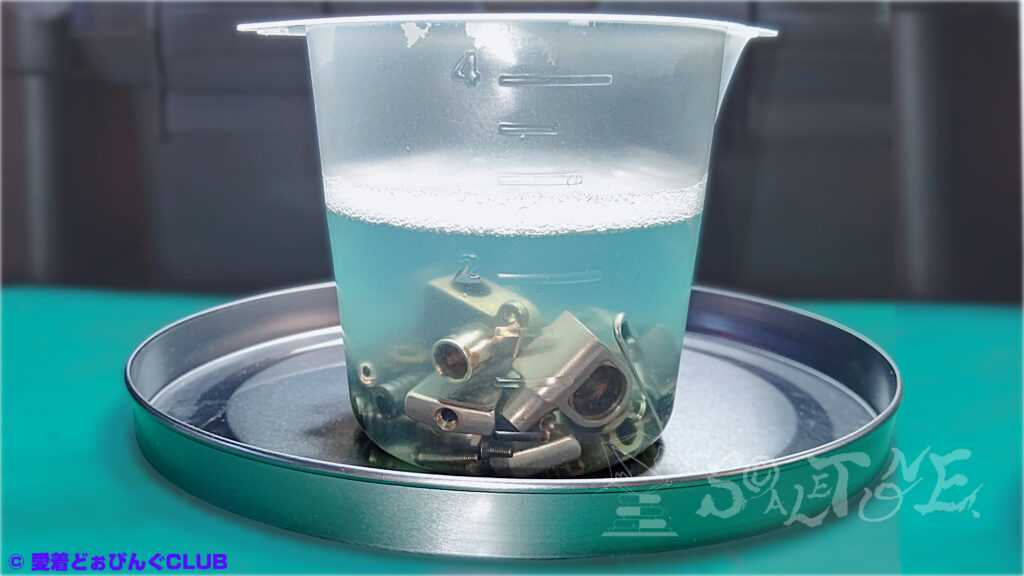
I left mine for about two hours.
It’s not exciting—but it works.
Optional Tool #1
I didn’t use one this time, and the mesh is a bit coarse, so it’s not ideal—but with a little improvisation, a microwave steamer tray can help keep parts organized.
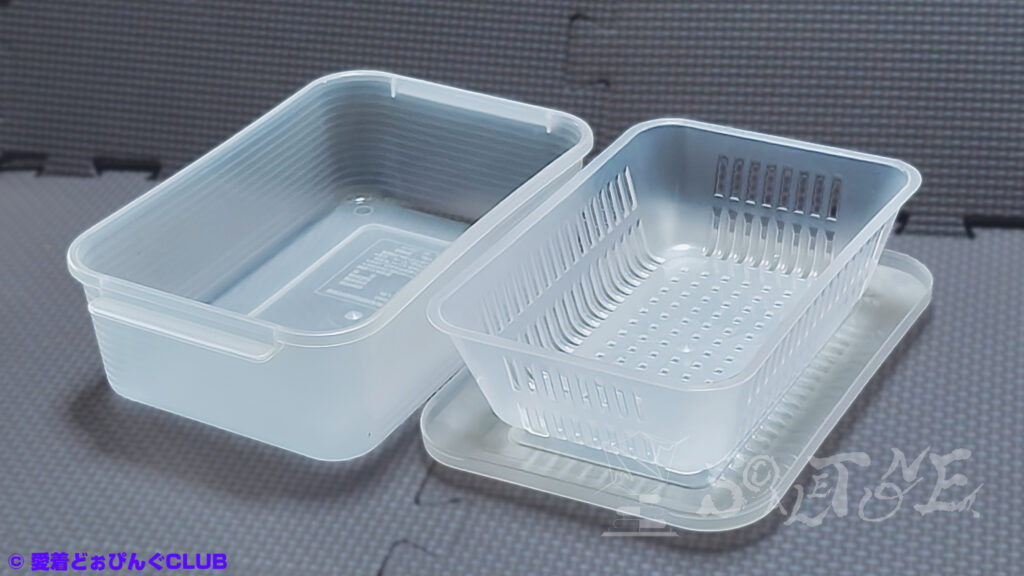
Just something I stumbled across—might be useful if you’re working with what you have.
Step 4:Brushing
Use an old toothbrush to gently scrub off grease and grime.
No need for anything fancy—just patience and care.
Step 5:Deep Cleaning
Replace the solution and clean again, this time focusing on fine grooves and gear teeth.
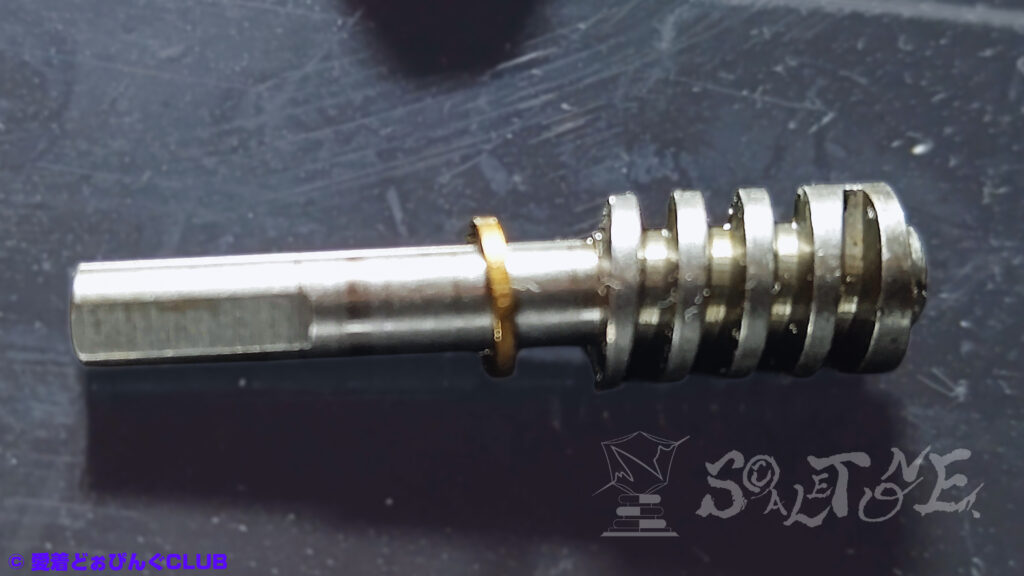
Even in close-up photos, I still hadn’t noticed the gasket.
It was there—but invisible.
Optional Tool #2
A flour sifter or mesh strainer.
Without it, I would’ve lost the gasket during rinsing.
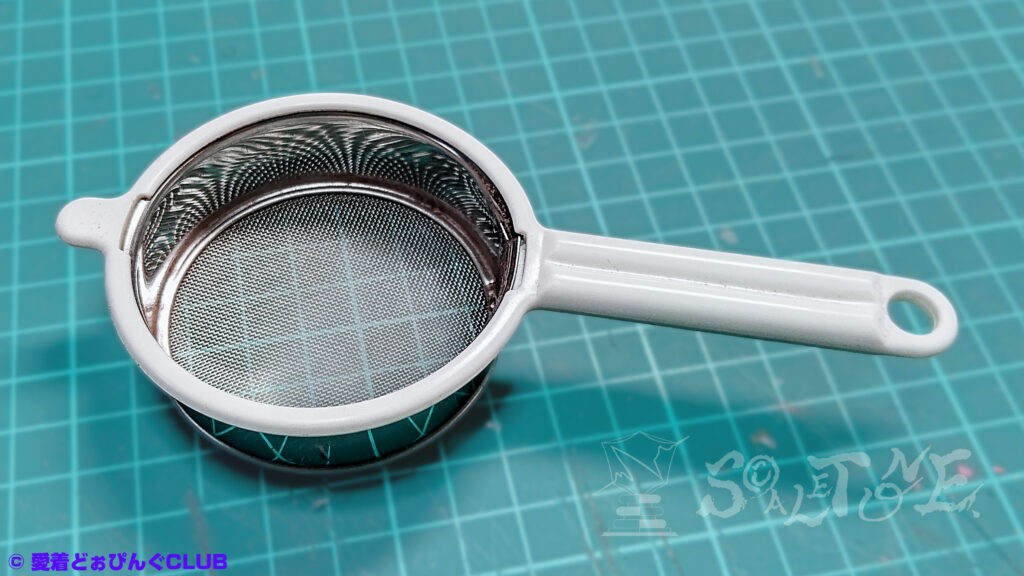
Always strain before draining—especially with small parts.
Amazonでの検索結果:“製菓 ふるい“
Step 6:Rinsing
Once satisfied, rinse thoroughly with clean water.
Make sure no detergent remains.
Step 7:Drying
Use Kimwipes, cloth, or cotton swabs to dry all parts completely.

Amazonでの検索結果:“キムワイプ“
Moisture leads to rust—so be thorough.
At this point, I finally realized: the parts were multiplying.
Every rinse revealed something new.
It was terrifying.
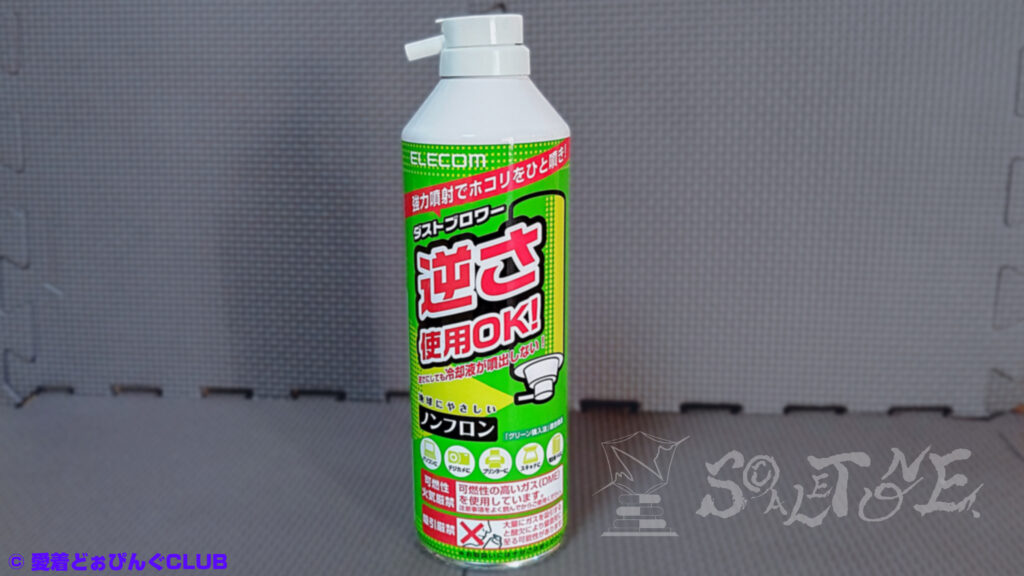
Use an air duster to remove moisture from screw holes and tight spaces.
Amazonで購入する:“エアダスター“
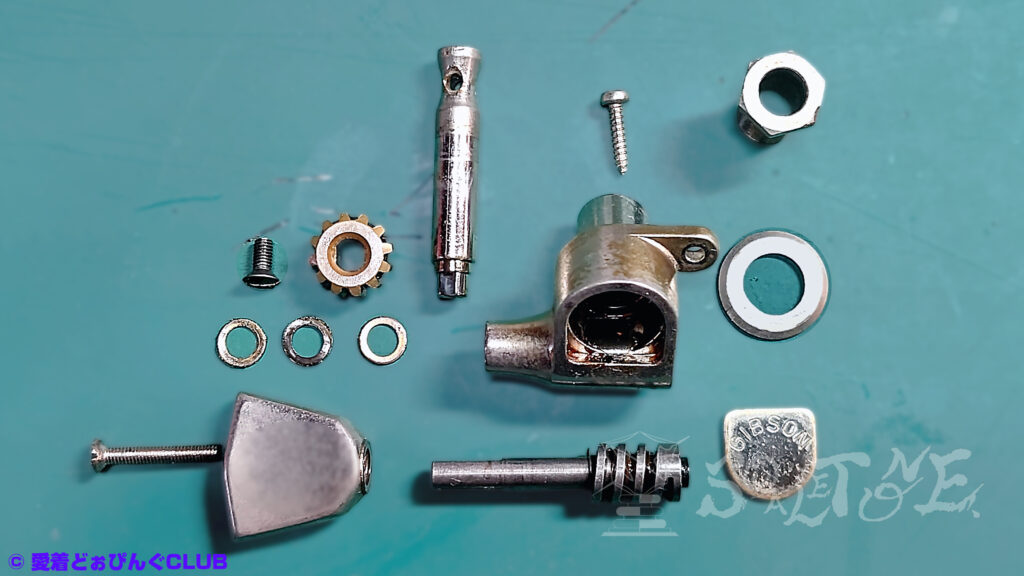
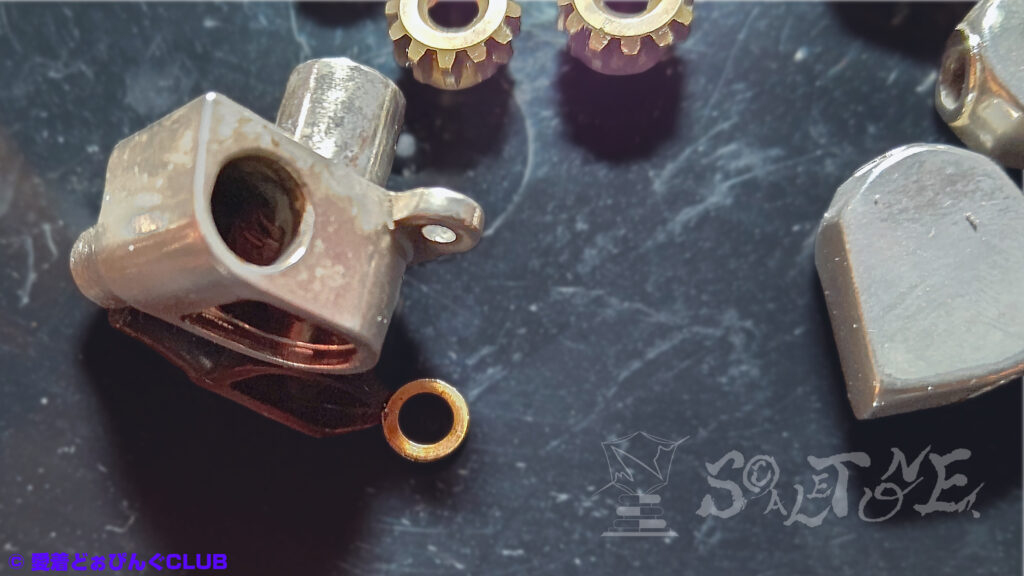
Step 8:Final Check – Condition & Missing Parts
Inspect for visible damage (rust, plating wear) and structural issues (gear wear, distortion).
Even if you can’t fix them, knowing what not to touch is part of the process.
Recount all parts.
If you’re missing one, double-check your sorting.
In my case, I had 14 types but only 14 parts.

Turns out I’d grouped two identical washers together.
So yes—15 parts total.
※ Specs may vary by year and manufacturer.
Component Checklist (Schaller M6)
- Mount bushing
- Bushing washer
- Mount screw
- Gear case
- Torque adjustment screw
- Peg button
- Washer ×2
- Spring washer
- Shaft
- Back cover
- String post
- Worm wheel
- Gear screw
- Gasket
ScALETONE’s Note:Summary & Next Time
This time, I used a neutral dish detergent—no special solvents.
It’s a simple example of how far you can go with everyday tools.
If you choose to use solvents, be mindful of compatibility and safety.
That’s a story for another day.
Next up: Polishing.
Let’s hope these parts shine again—with just a little help.