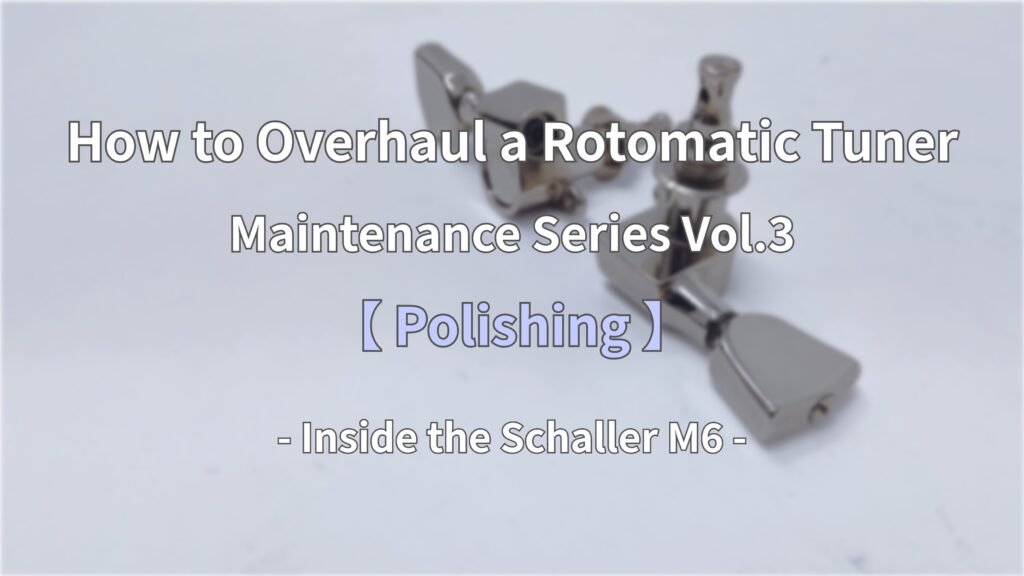
Maintenance Series Vol.1: Inside the Schaller M6
Rotomatic Disassembly Series – Part 3: Polishing
This series documents the full restoration of Schaller M6 tuning pegs—a classic example of Rotomatic-style guitar hardware.
The “Complete Rotomatic Peg Maintenance Guide” is divided into four chapters, covering the entire process: disassembly, cleaning, polishing, lubrication, and reassembly.
Rotomatic Disassembly Series
- Part 1: Disassembly
- Part 2: Cleaning
- Part 3: Polishing
- Part 4: Reassembly & Lubrication
This third chapter focuses on the polishing process, accompanied by reference images.
It includes:
- Step-by-step polishing and its visual impact
- Tools and materials used
- Cautions and considerations
- Before / After comparison


Introduction
This third chapter introduces the polishing process, accompanied by a few images.
It’s a continuation of the previous “just wash and polish” routine—familiar work, with little novelty.
I may have gotten too caught up in the process, as I somehow failed to document the key polishing steps.
Still, I hope you’ll sense the spirit behind it: the quiet determination to strip away forty years of wear and gently coax back a hint of its former shine.
That original, untouched newness may be long gone.
But perhaps it has aged with character—and that’s the hope I’ve poured into this chapter.
Step 1:Condition Check
The main goal of the soaking process in the previous cleaning step was to remove old grease.
Still, as the images show, soaking alone left behind a noticeable dullness—so this chapter moves into the polishing stage.
Technically, it’s the “Polishing” chapter, but in my mind, it feels more like a “Buffing” session.
(A mood thing, really.)
Working Notes
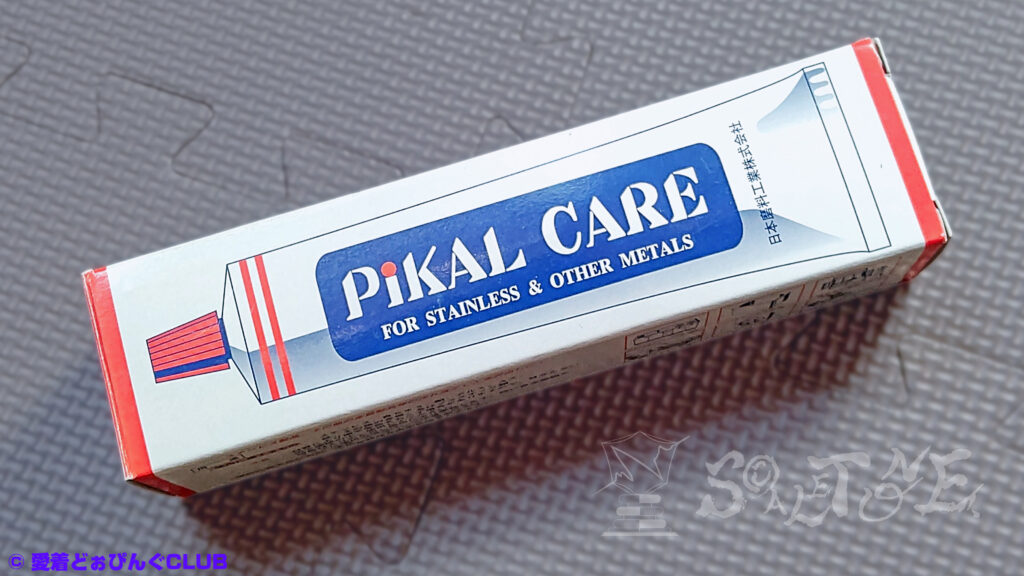
For this session, I used Pikal metal polish—a well-known, widely used compound in Japan for general metal polishing.
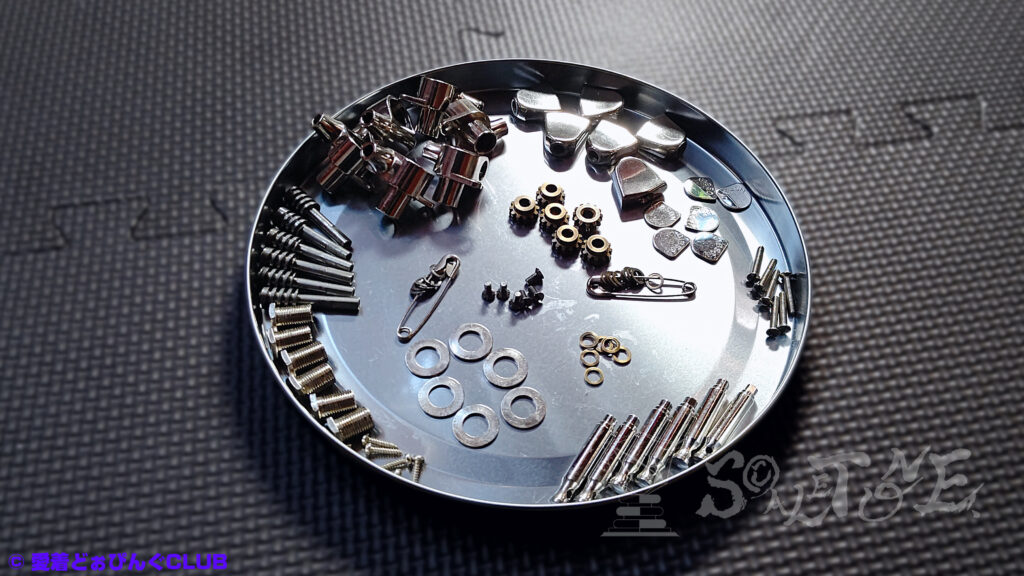
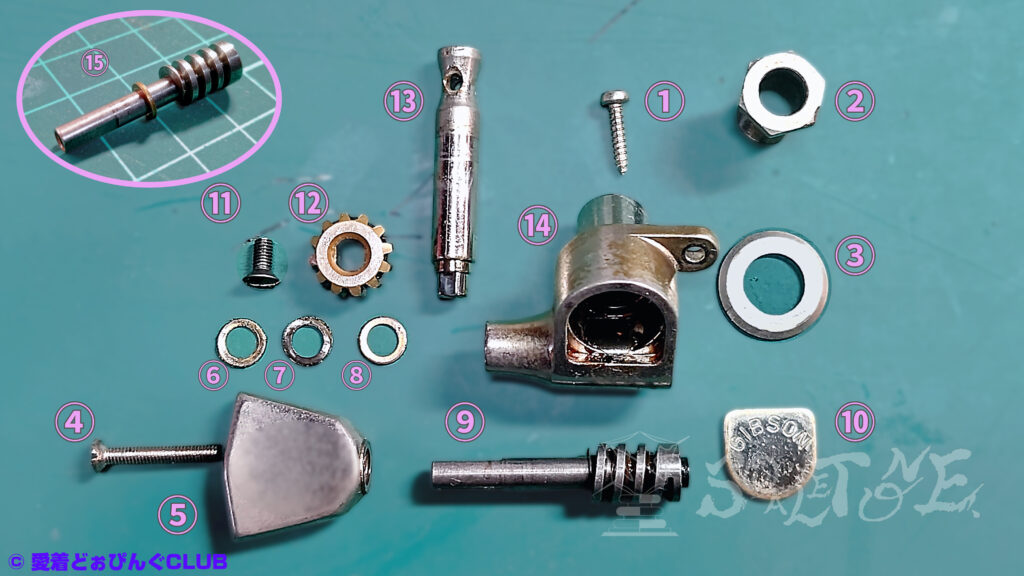
The polishing was limited to six visible components: peg buttons, gear case, back cover, peg posts, mounting bushings, and bushing washers.
I deliberately avoided polishing internal parts like the worm wheel or shaft.
While I did polish the inside of the back cover, I was careful not to let any compound reach the gear box interior—only the visible exterior surfaces were treated.
Step 2:Masking
To keep Pikal out of sensitive areas—like the inside of the gear case—use masking tape to seal or shield them.
Covering key spots like internal cavities, female threads, or screw grooves allows for easy cleanup later, so there’s no need to be overly fussy.
If you’re polishing only the screw heads, not the threads or holes, you can pre-fit the screws or drive them into scrap wood for stability.
Once protected, gently clamping the parts with a vise or similar tool can help.
Just be careful not to apply too much pressure—secure handling makes detailed work much easier.
Step 3:Polishing Work
For this step, I used a power tool with a buffing wheel—working at the lowest speed and with a light touch.
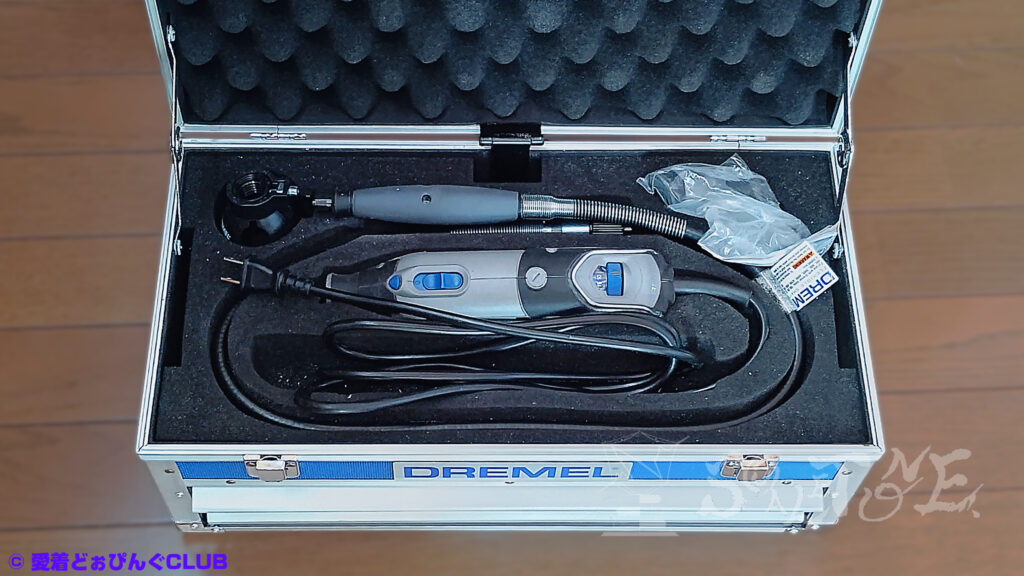
Amazonで購入する:“Dremel(ドレメル) ハイスピードロータリーツール“
Still, over-polishing can be risky: even slight contact between the bit’s shaft and the surface may leave unexpected scratches.
It’s more efficient than hand polishing, but it demands a delicate approach.
Amazonで購入する:“ドレメルチャック“
(Just having the option—shown in the image—can really expand your toolkit.)
I regret that I didn’t capture any images of the actual process—so the crucial “in-between” steps are missing.
And while I’m already apologizing, I’d ask you to read the following notes with care.
Caution
I later learned that metal polishes—including Pikal—don’t always interact well with plated surfaces.
Using it in this case was a personal misjudgment.
I don’t intend this note to be a “warning” in the strict sense, nor do I mean to criticize Pikal or its manufacturer, Nihon Maryo Kogyo Co., Ltd.
This isn’t a complaint—simply a reflection on my own process and choices.
That said, future posts on this site may still feature Pikal being used on plated components.
Please treat such examples as entirely optional and at your own discretion.
I offer this case as a reference example of improper usage, in the hope that it may be useful.
On the Appeal of Polishing
There’s no denying the appeal of a polished finish.
But similar results aren’t guaranteed—and depending on the material and conditions, there’s a real risk of damage.
I strongly recommend prioritizing material safety and protection, and making careful, informed choices based on your own goals and judgment.
Notes on Using Polish on Plated Parts
Polishing compounds and metal polishes work by creating fine abrasions on the surface.
In my view, this is fundamentally different from protective coatings like automotive wax.
As I mentioned at the end of the previous post—this isn’t just about wiping away dirt.
It’s a process that carries the risk of stripping the plating itself, and I want to emphasize that again.
In fact, the Pikal product used here clearly states: “Not for use on plated metals.”
So please understand that this was not just a matter of personal discretion—it was a misapplication on my part.
About Plating-Compatible Polishes
There are polishes specifically labeled as “safe for plating.”
But unless a product is clearly marked as such, it may not be suitable.
Amazonで購入する:“PiKAL [ 日本磨料工業 ] 金属磨き エクストラメタルポリッシュ“
I hope you’ll keep that in mind—even if only tucked away in the corner of your memory.
※ And please remember: not all plating is the same.
Site Policy
This site does not recommend using metal polishes on plated surfaces—unless the product is explicitly labeled “plating-compatible” or “safe for use on plating.”
A polished finish can be beautiful, but it’s essential to follow usage guidelines and prioritize safety and material integrity above all.
Step 4:Final Touches
I missed the right moment to mention this earlier, but please be sure to wipe away any excess compound and grime using a clean cloth or Kimwipes.
Amazonでの検索結果:“キムワイプ“
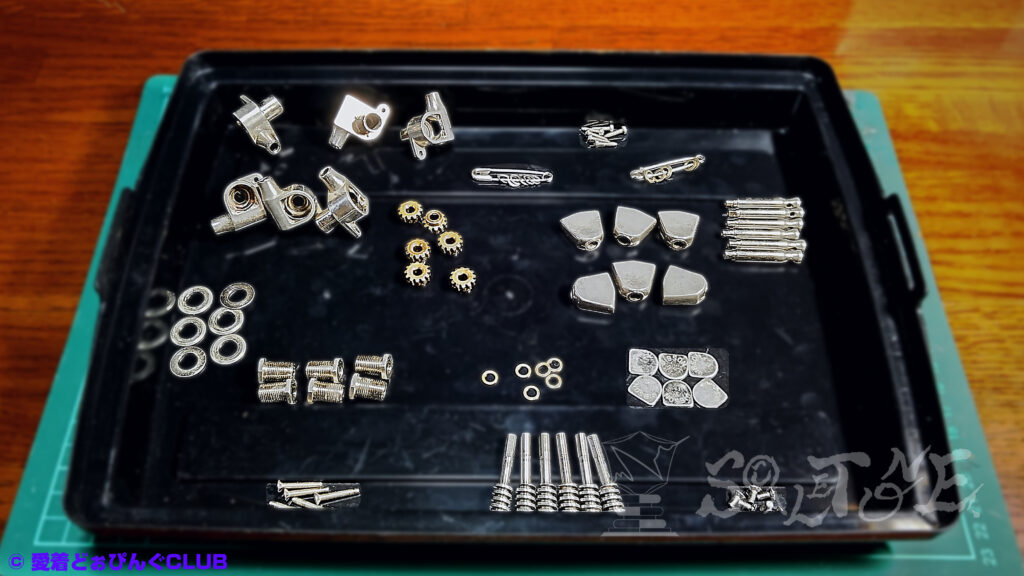
Once polishing is complete, wipe off any remaining compound and finish with a dry cloth.
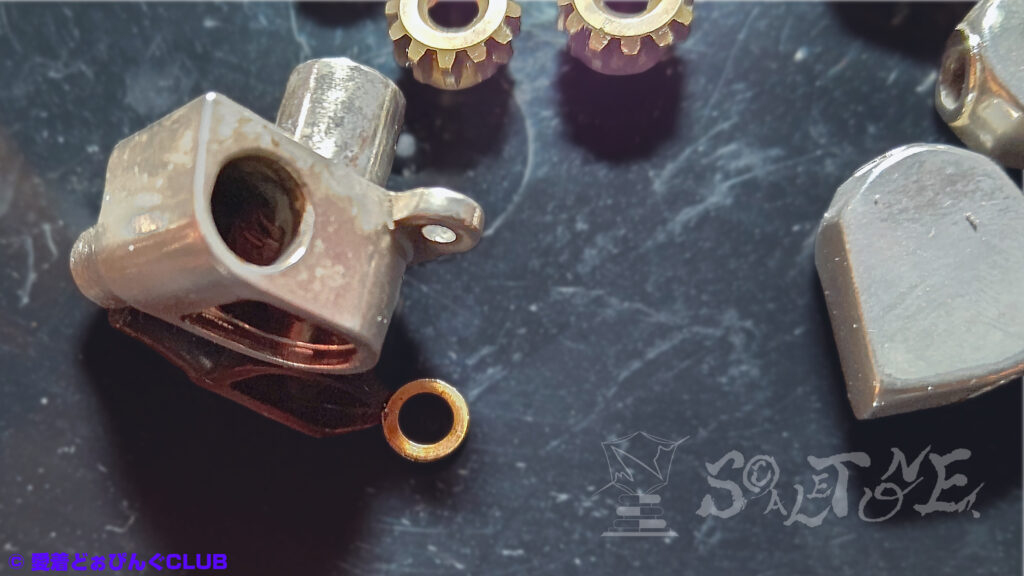
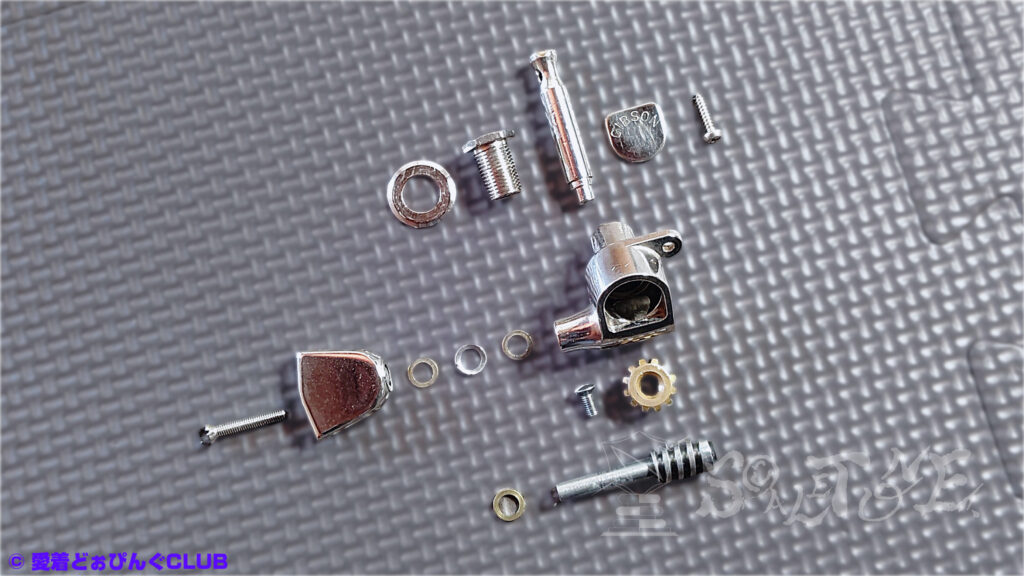
The images below show the final result.
(Since I didn’t capture the process itself, only the finished state is shown here.)
Completion & Reflections
I had hoped to celebrate a clear, polished finish with a light heart—but due to my own carelessness, I ended up with a bit of a cloud over the result.
At first glance, the parts look nicely restored.

Personally, I’m satisfied with the outcome.
I’ve also double-checked to make sure nothing went missing.
Observations on Surface Condition
Looking closer, it seems some of the peg buttons show signs of white rust or spot corrosion.
That said, I can’t say for sure whether this was caused by the soaking or the use of Pikal—it may have been there all along.
I’d call it aging, more than anything.
Just to revisit an earlier point:Pikal is considered unsuitable for treating white rust or spot corrosion on plated surfaces.
(Its purpose is to remove material, after all.)
There are other treatments better suited for this kind of issue, so when polishing plated parts, I recommend choosing from the following based on your needs:
Recommended Products for Plated Surfaces
- Rust remover for plating
- Plating polish
- Plating cleaner
- Plating coating
“メッキ 磨き”の検索結果
Aesthetic Balance in Guitar Parts
With guitar parts, polishing too much can make them stand out awkwardly once installed.
So this level of finish might be just right—a good compromise.
Trying to achieve a mirror shine would require aggressive abrasion to remove existing scratches, which carries its own risks.
This feels like the right stopping point.
It’s contradictory and not something I recommend, but in cases where intentional aging is desired—like relic processing—this kind of subtle, localized fading might be one way to achieve it.
Before / After
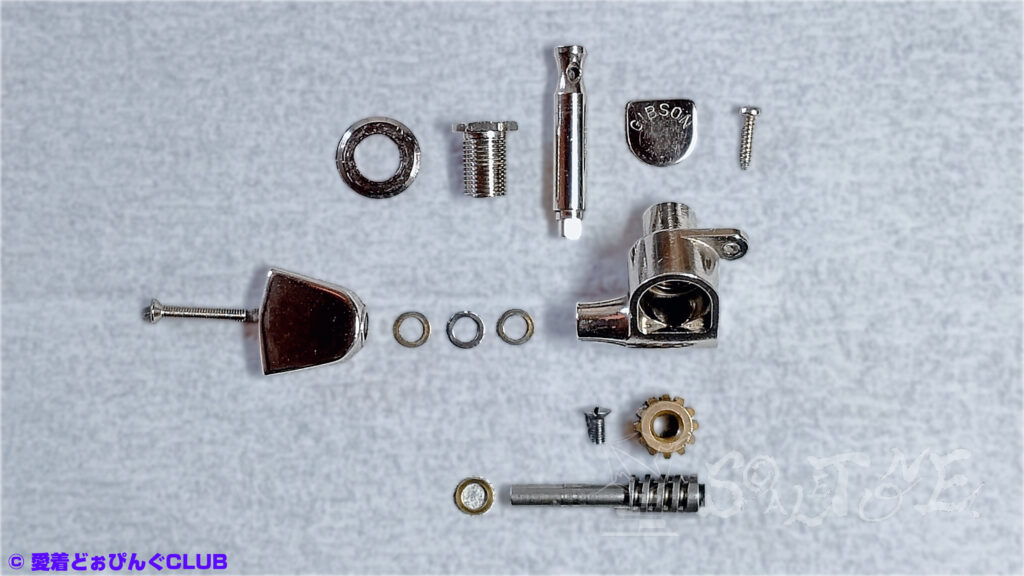
Before
I originally planned to combine the “Cleaning” and “Polishing” chapters into one article, so I don’t have images from right before polishing.
Instead, I’ve used photos taken before cleaning as the “Before” reference.
After
These were taken after the polishing work was completed.
Tools Used
Here’s a list of supporting tools used in this chapter:
- Rubber gloves
- Precision knife
- Masking tape
- Kimwipes / cloth
- Polisher / rotary tool / electric drill
- Buffing wheel
- Tweezers
(Plus: polish, cleaner, protective agents, and the parts themselves)
Tool
Amazonで購入する:“Dremel(ドレメル) ハイスピードロータリーツール“
Amazonで購入する:“ドレメルチャック“
Polish
Amazonで購入する:“PiKAL [ 日本磨料工業 ] 金属磨き エクストラメタルポリッシュ“
“メッキ 磨き”の検索結果
Cleaner
Amazonでの検索結果:“キムワイプ“
Protective agents
Amazonで購入する:“マスキングテープ“
Rotomatic Tuners
“Schaller ペグ”の検索結果
“ロトマチック”の検索結果
ScALETONE’s Note:Closing Thoughts & What’s Next
Next up is the final chapter: “Reassembly.”
The process is essentially a reverse playback of the “Disassembly” chapter—but if you’ve followed along this far, I hope you’ll stay with me to the end.
Incidentally, I only just realized that the cover image already shows the nearly finished state.
So how did it all come back together?
Just a little longer until we find out.